As autumn rolls in, the vibrant colours of the season beckon us to embrace the haunted spirit, and what better way to celebrate than by decorating pumpkins? Gone are the days when carving was the only option, as today’s pumpkin decorating has evolved into a canvas for creativity, inviting you to explore a world of colours, textures, and styles.
Whether you’re hosting a Halloween party, looking for a fun family activity, or simply wanting to brighten up your home for this haunted season, there are countless ways to transform these spooky staples into stunning works of art. From painting and carving to dress-up and sculpting, let’s dive into a delightful array of techniques that will inspire your pumpkin decorating journey this Halloween.
Paint Your Pumpkins!
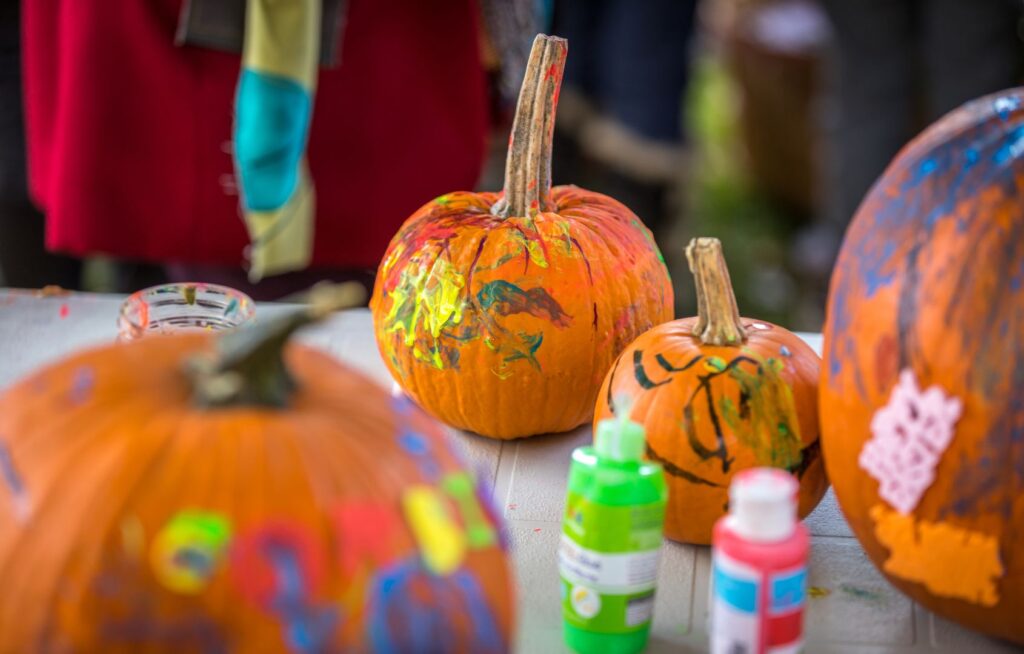
To paint pumpkins for Halloween, start by gathering your materials, including pumpkins, acrylic paints, paintbrushes, and stencils if desired. Choose smooth pumpkins, clean them with a damp cloth, and plan your design on paper or with stencils. Begin by applying a base coat of paint (white or orange) and allow it to dry completely.
Next, paint your design using various brush sizes, adding details like eyes and mouths once the base is dry. You can layer colors for depth and add embellishments like glitter for a festive touch.
Finally, seal your artwork with a clear spray if you want it to last longer, and proudly display your painted pumpkins to celebrate the season!
Draw Cartoon Faces
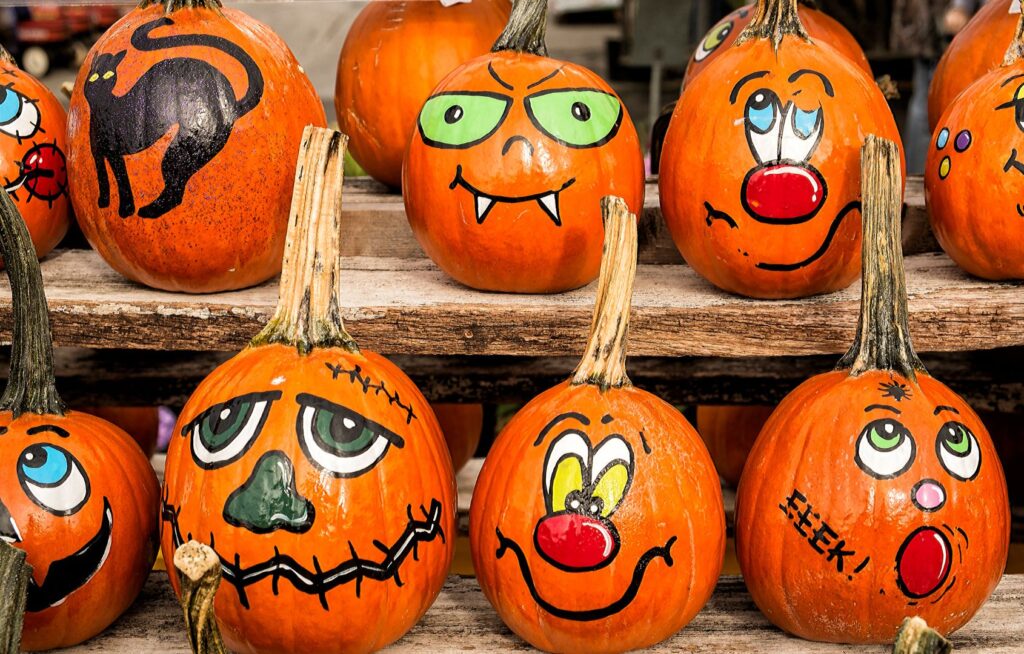
Simple cartoon designs with animated expressions like these will make your pumpkin stand out from the crowd. To draw cartoon faces on pumpkins for Halloween, start by selecting a smooth pumpkin and cleaning its surface with a clean damp cloth.
Use a pen to lightly sketch your cartoon face design, focusing on simple shapes like large eyes, a big smile, and exaggerated features to give it a fun, haunted look.
Once you’re satisfied with your sketch, outline it with a black permanent marker for boldness.
Next, fill in the eyes and mouth with black paint or marker, and use vibrant acrylic paints for other facial features, such as colourful cheeks or eyebrows. Let your pumpkin dry completely, and consider adding finishing touches like glitter or stickers for extra flair. Display your cheerful, cartoon-faced pumpkin to spread Halloween joy!
Carve Away!
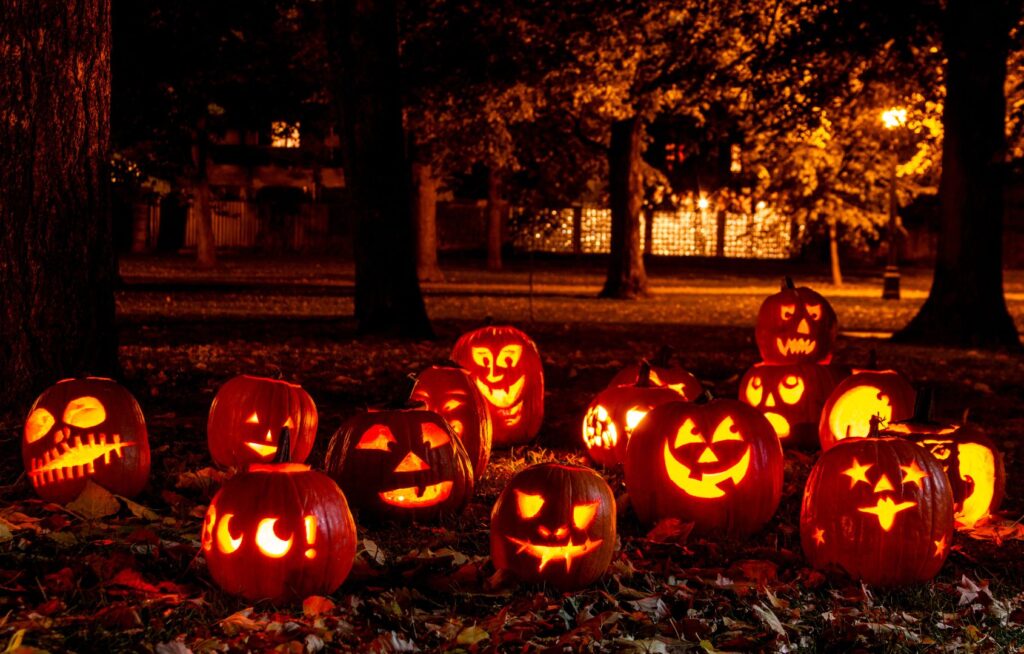
To carve pumpkins for Halloween, start by selecting a fresh, firm pumpkin and placing it on a stable surface. Use a sharp knife to cut a circular opening around the stem and remove the seeds and pulp using a scoop or spoon, ensuring the inside is clean and smooth.
Next, sketch your desired design on the pumpkin’s surface with a marker or pen, opting for simple patterns or classic Halloween motifs like jack-o’-lantern faces. Carefully carve along the lines with a small carving knife or a specialized pumpkin carving tool, applying gentle pressure to avoid breaking the pumpkin.
Once your design is complete, light a candle or place a battery-operated light inside to illuminate your creation. Display your carved pumpkin proudly to celebrate the Halloween spirit!
Add Some Googly Eyes!
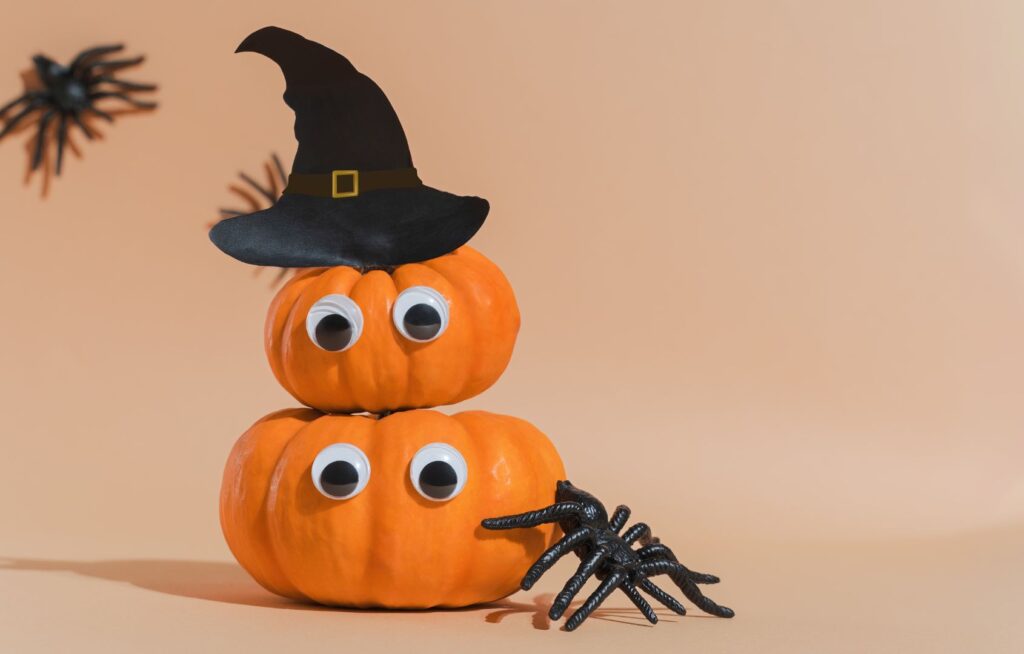
To add googly eyes to pumpkins for Halloween, start by selecting a clean, smooth pumpkin and gathering your materials, including various sizes of googly eyes, craft glue or a hot glue gun, and optional decorations like pipe cleaners or stickers.
Choose a fun design for your pumpkin, such as a silly face or quirky expression. Apply a generous amount of glue to the back of each googly eye and press them firmly onto the pumpkin’s surface, positioning them at different angles to create a whimsical look.
For added flair, you can use pipe cleaners to create antennae or other features, attaching them with glue as well. Allow everything to dry completely before displaying your googly-eyed pumpkin in a prominent spot, spreading smiles and Halloween cheer!
Unicorn Pumpkins
To make unicorn pumpkins for Halloween, start by selecting a smooth, round pumpkin and cleaning its surface. Paint the entire pumpkin in a vibrant colour, like pastel pink or lavender, using acrylic paint and letting it dry completely.
For the unicorn horn, you can create one from a cone-shaped piece of cardstock or a painted paper towel roll; attach it to the top of the pumpkin using hot glue. To add ears, cut out two triangular shapes from felt or cardstock, and glue them on either side of the horn.
Next, embellish your unicorn pumpkin with colourful faux flowers, sequins, or glitter to create a magical mane around the neck area. Once everything is securely attached and dry, display your whimsical unicorn pumpkin to bring a touch of enchantment to your Halloween decor!

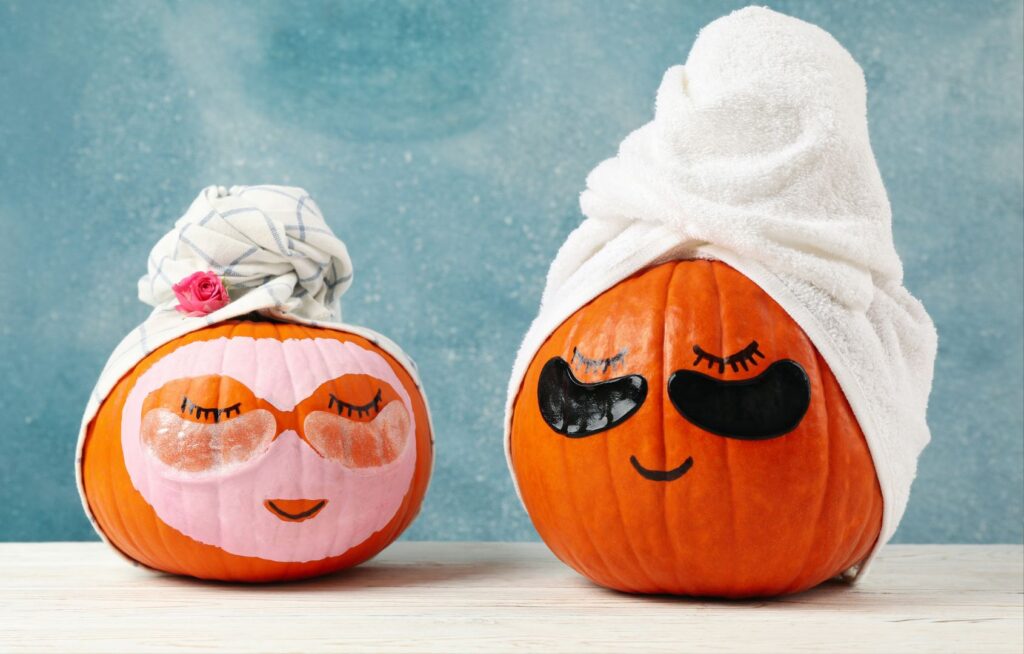
Spa Day Pumpkins!
To dress up pumpkins for a spa-themed Halloween, start by selecting a few medium-sized pumpkins and giving them a fresh coat of pastel-coloured paint, such as soft pinks, blues, or purples, to evoke a calming spa vibe.
Once the paint is dry, add facial features using markers or paint to create serene expressions, like closed eyes and a gentle smile. For spa accessories, you can make headbands from strips of fabric or ribbon and attach faux flowers or decorative stones for a chic look.
Create mini cucumber slices using green felt or cardboard to place over the eyes for a classic spa treatment effect.
To enhance the theme, consider adding spa elements like a small towel wrapped around the pumpkin’s “head” or using small stones and pebbles around the base for a zen garden feel. Display your charming spa pumpkins together to create a relaxing Halloween atmosphere!
-
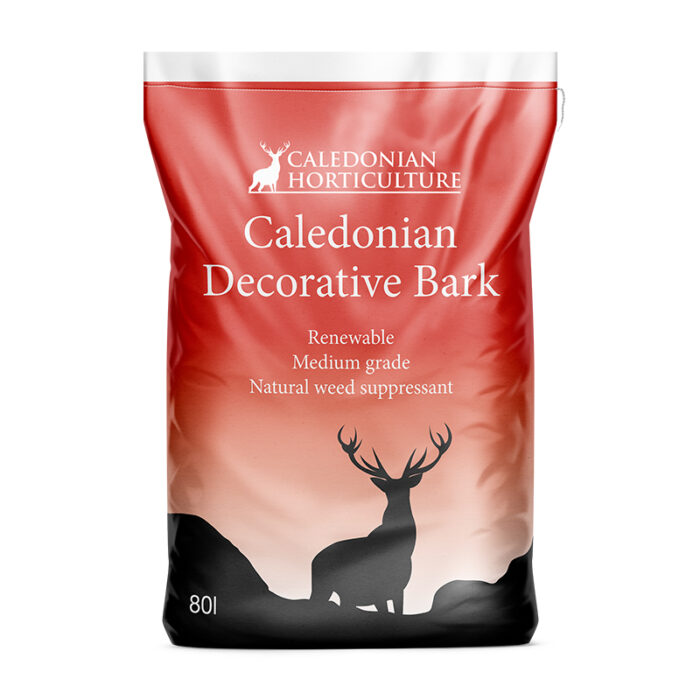 80L Caledonian Decorative Bark£8.50 – £9.50Price range: £8.50 through £9.50 inc VATRated 4.92 out of 5 based on 13 customer ratings
 -
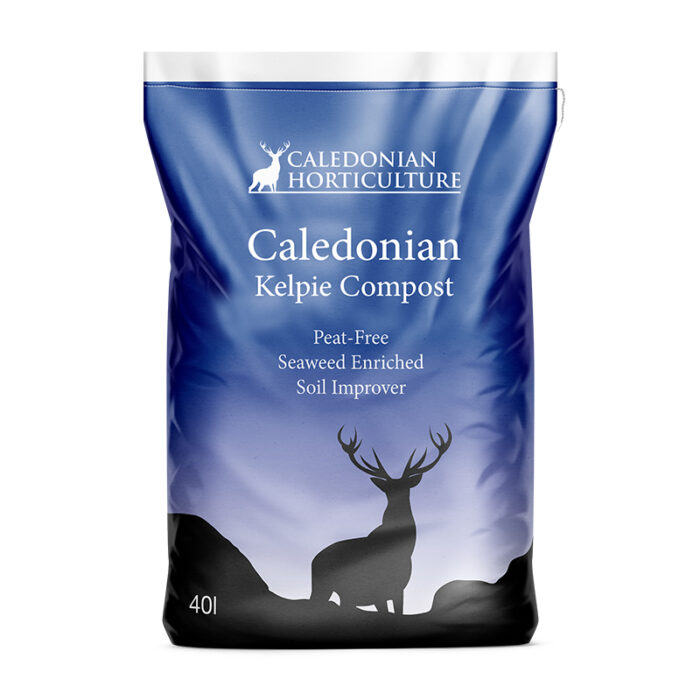 40L Kelpie Compost£4.75 – £5.75Price range: £4.75 through £5.75 inc VATRated 4.97 out of 5 based on 88 customer ratings
 -
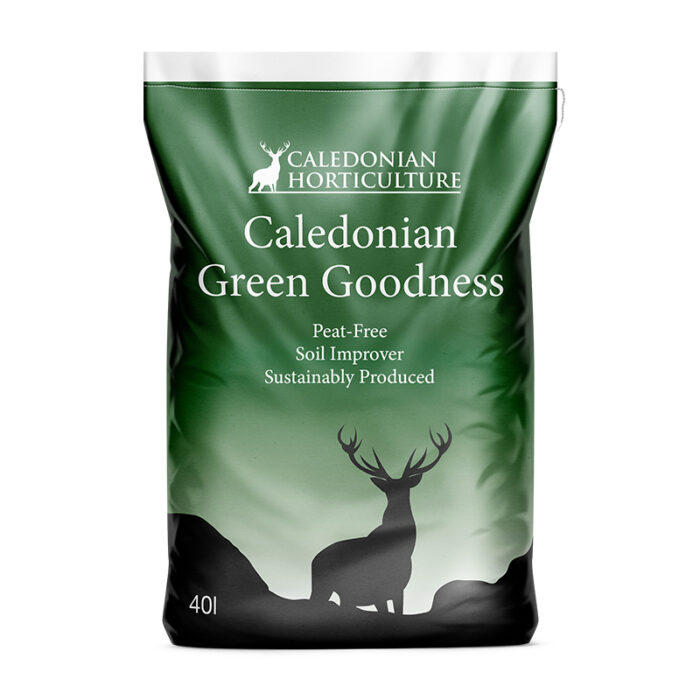 40L Green Goodness£3.50 – £4.50Price range: £3.50 through £4.50 inc VATRated 4.97 out of 5 based on 73 customer ratings


