Guest post by Andy Peasgood (@andypeasgood)
Over the last few decades gardening in the United Kingdom has followed ‘fashions’ and ‘trends’ with Horticultural Shows, such as the RHS shows, playing a dominant role in bringing these ‘fashions’ and ‘trends’ to the public eye.
Show gardens featuring ‘the plant of the season’ quickly flood our TV screens and media. Soon enough the country’s Garden Centre’s are creating grand displays highlighting this year’s star plant, en masse and at an inflated price. Several years ago, it was Lupins, and you could not go anywhere without seeing Lupins in grand lines and towering tiers. These had price guides north of £10 and if you fast forward to a few years later, the local supermarkets have a decent selection at half the price.
There is influence no doubt, however I continually find myself asking the question; ‘Is the influence economically and environmentally well placed?’
This past year food suppliers in the United Kingdom were struggling to supply certain foods and in particular, tomatoes and peppers. Many Gardeners and growers spoke up on the subject, using different platforms to offer advice around the benefits of seasonal growing and cooking. The premise of this advice rounds up to that of the potential of relying less on the food import market.
This does bare truth however, like most things, it is just not that simple. Education in recipes would need to be seasonally promoted and/or researched and we are left with the significant question; ’Does everyone have access to a growing space?’ Unfortunately, the answer is ‘No.’
Seasonal growing and cooking can be simply described as cooking what is in season in the garden, allotment, and supermarket. By actively practicing this we can begin our learning towards creating meals from foods that are readily available. One such food is the humble pumpkin.
Pumpkins have excellent nutritional value and are far more versatile than we give them credit for. Soups, salads, roasts, tray bakes and desserts are a few areas where they shine, and it is always wise to keep one or two aside for Halloween!
Autumn is the perfect time to carry out some jobs for next years growing season and pumpkins are a fantastic squash to get started with.
These winter squashes (Yes, pumpkins are squashes!), have been around for a long time and ‘the oldest pumpkin seeds have been found in Mexico and date back to somewhere between 7000-5550 B.C.’ (The regents of the University of California, 2023).
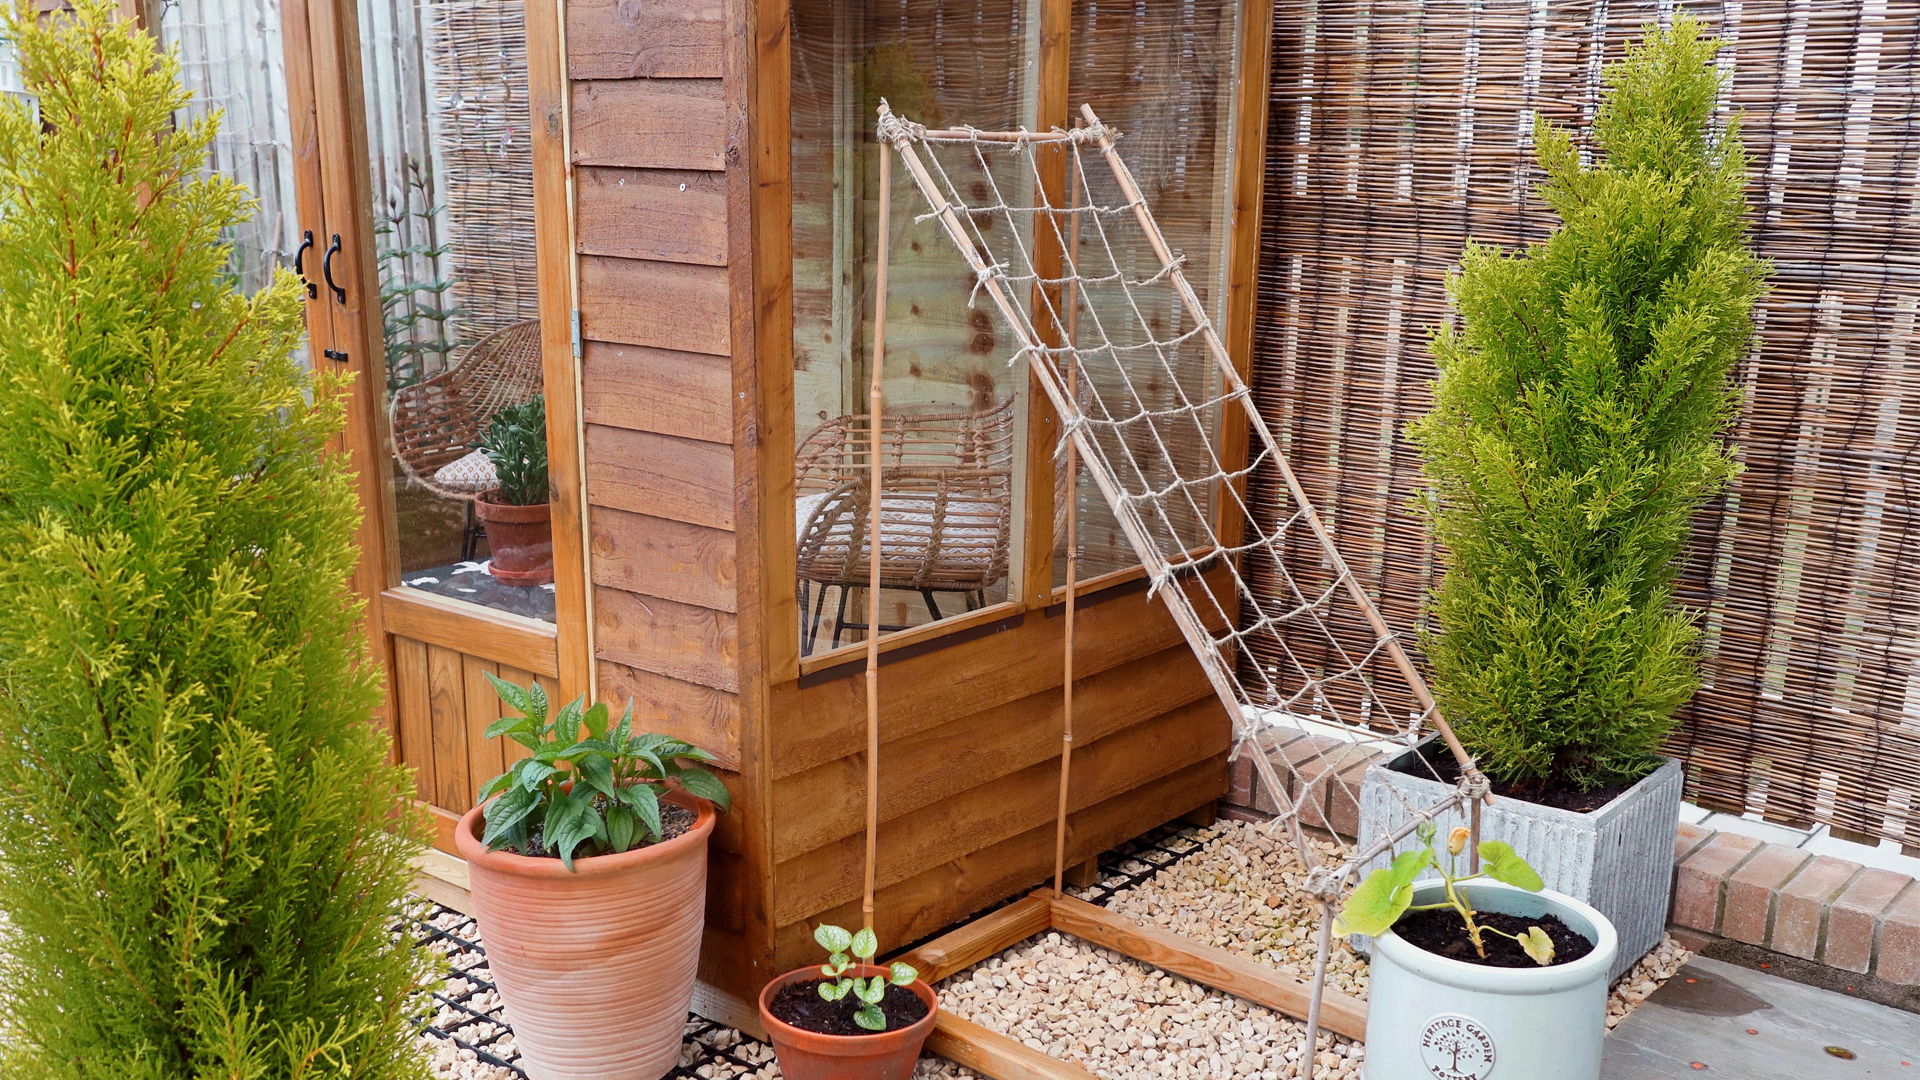
What is more is that some varieties are easier to grow than others and the smaller trailing varieties can be grown vertically.
I, myself, have a growing space which does not allow me to grow pumpkins horizontally and when I was given a pumpkin seedling, in exchange for a tomato seedling, I knew the only way was up.
For this project I spent a total of £3.50 on one piece of timber and the rest is made up of material I had in the potting shed.
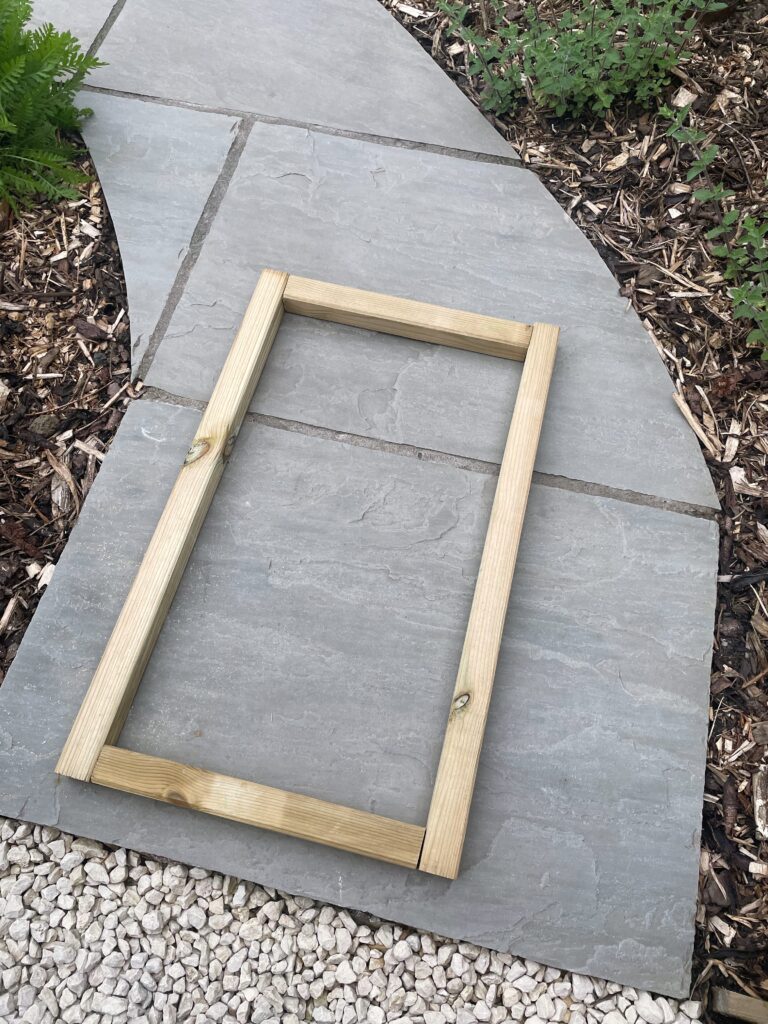
Step 1 – Cut the timber into four lengths. Two longer lengths at the sides and two shorter lengths to brace them.
Step 2 – Drill pilot holes to not split the timber when the screws go in.
Step 3 – Use four screws, one in each corner, and be sure to use screws long enough so that there is strong enough contact between each piece of timber.
Step 4 – Now you have a rectangular frame. Place it on the floor and get four bamboo canes.
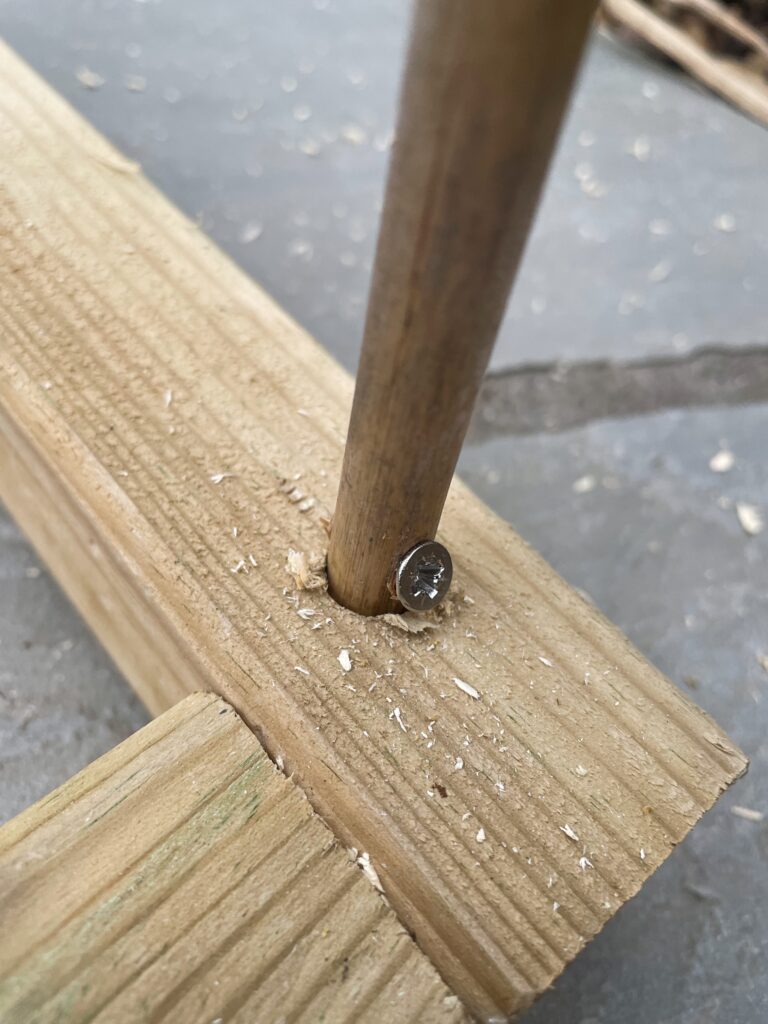
Step 5 – Pick a drill bit which matches the bamboo canes diameter and drill a hole in the top of each corner.
Step 6 – Insert the bamboo canes and, starting with a pilot hole, put a screw in to secure the bamboo canes to the timber rectangle.
Step 7 – Take two lengths of bamboo cane and tie one in at either end with string, acting as a brace like the timber frame. Make sure one is higher and the other is lower.
Step 8 – Now tie in two further lengths of bamboo along the sides which should be on the diagonal.
Step 9 – Cut away excess bamboo cane and use netting (bought or created) and place it over the top of the frame and tie it in making sure it is secure.
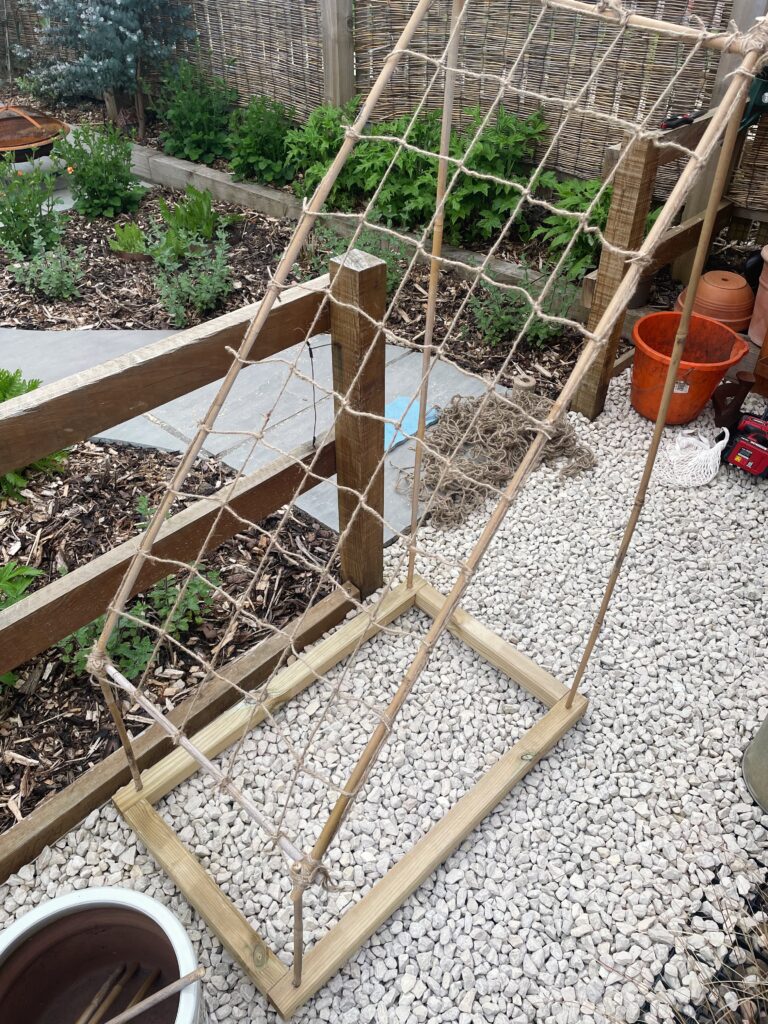
Step 10 – Pot up your pumpkin and place it at the lower end of the frame (June).
There is your DIY friendly pumpkin frame in 10 simple steps.
As the season goes on, train the plant along the netting, and keep it well watered as pumpkins are incredibly thirsty. When the first signs of a pumpkin emerge, start feeding them with a potassium feed (a tomato feed will do) and do this every 10-14 days. If any pumpkin becomes too heavy, make sure to support it which can be done in a multitude of ways. I have even seen someone using a pair of stockings to support larger and/or heavier pumpkins with remarkable success.
Finally, enjoy the pumpkin by getting into the kitchen and cooking some nutritionally rich and tasty seasonal recipes.