
Guest post by Andy Peasgood (@andypeasgood)
When we look at the gardening year, a good portion of seed sowing occurs during the spring months. However, did you know that you can sow a vast quantity of seeds through the summer and autumn months too?
Seed sowing is a phenomenal process and a much more affordable option for growing than buying established plants from a garden center. What it does require though is patience and the knowledge of knowing that sometimes it does not work out.
In my earlier gardening days, I did not grow from seed, I only bought from garden centers and online mail order services and to be honest, these were not particularly successful experiences. Do not get me wrong, some centers and mail order services are excellent but, in my experience, many plants from garden centers are either carrying disease, have root rot or are pot bound. Similarly, mail order service plants can arrive poorly packaged and completely thrown about in transit, even with the ‘KEEP THIS WAY UP’ message on the side. Through the years I have learnt which centers and mail order services are reliable and trustworthy and they have my continued service.
You can avoid all this and save a fair bit of money by purchasing some basic seed sowing trays (module trays), vermiculite and excellent quality seeds.
Some seeds can be sown throughout the season, and it is worth knowing this as it can provide you with a regular crop for many months. One such seed is that of the herb, Basil, which will require to be sown indoors at this time of year.
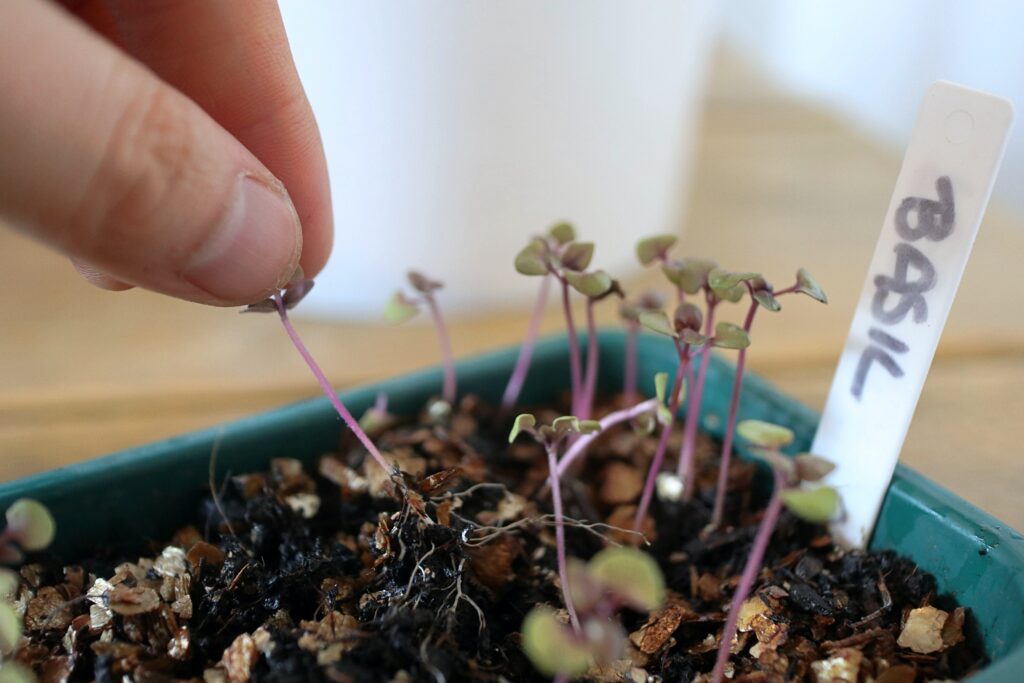
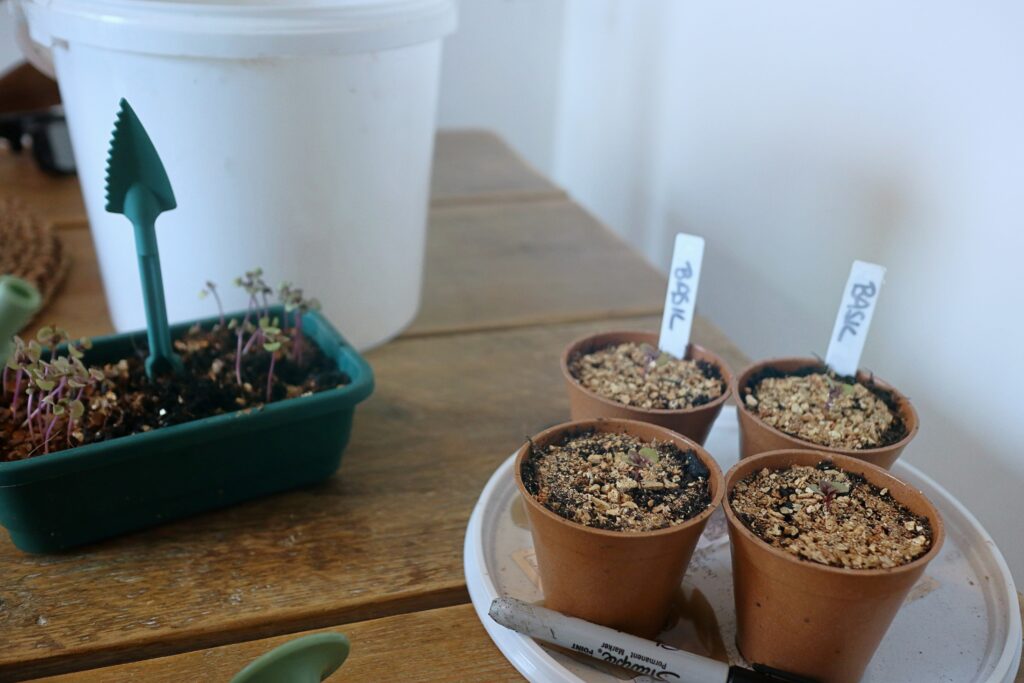
I have sown some Basil ‘Red Rubin’ which has a gloriously deep purple leaf and fragrant flavor. You can sow the seeds in single cell module trays or in a single tray. I opted for a single tray and now the seeds have germinated, are showing their true leaves and are ready to be transplanted. The first set of leaves on a seedling are called the Seed Leaves and the second set are called the True Leaves. Visible and established true leaves are a good indicator that they are ready to be transplanted to individual containers. Timing is important when sowing in a tray because if you were to leave them, the individual root systems will start crossing and you will not be able to separate the seedlings without doing considerable damage to the root systems. As well as this, they will fall victim to a disease called ‘damping off’ where the seedlings collapse.
Here is my guide to transplanting your seedlings to individual containers.
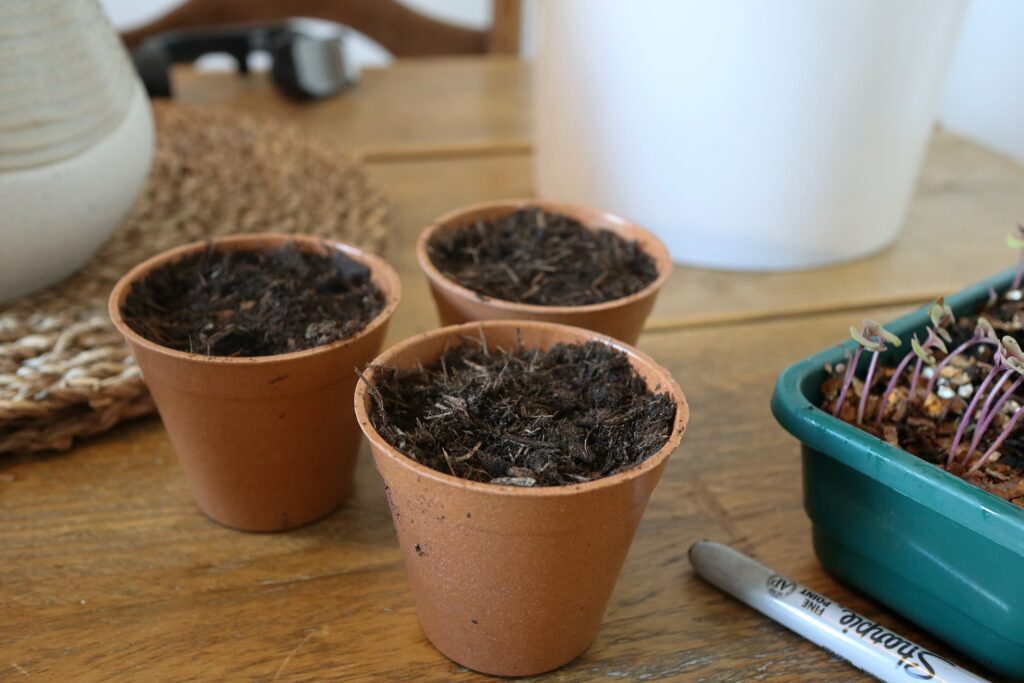
Step 1 – Pre-fill the containers with compost and firm them down without compressing the compost too much. Then take a pencil or small dibber and create a hole in the soil. This will be where you put the transplanted seedling.
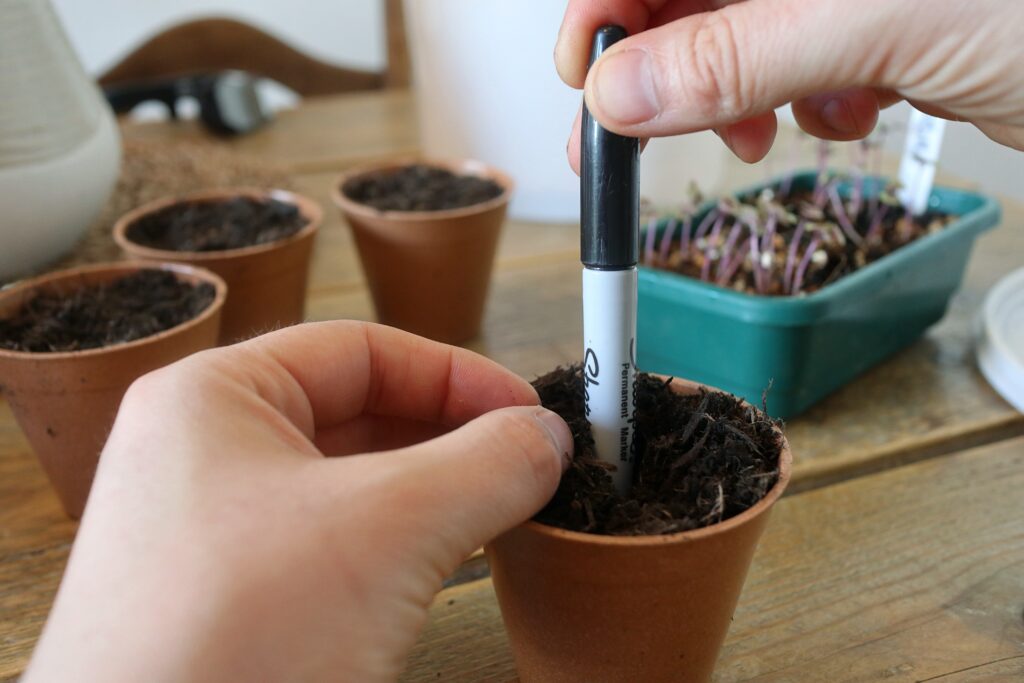
Step 2 – Take the seedling from the tray and using a pencil or a small dibber, gently break up the surface of the compost and begin to separate the seedlings. Once you are confident that the roots of the seedlings have separated, you can begin to move them.
Step 3 – Thanks to a bit of prep work we can now take our seedling and put it directly into the hole we created in the container and very gently backfill the hole. The roots and stem can be buried deep into the soil so that the leaves are just above the compost’s surface.
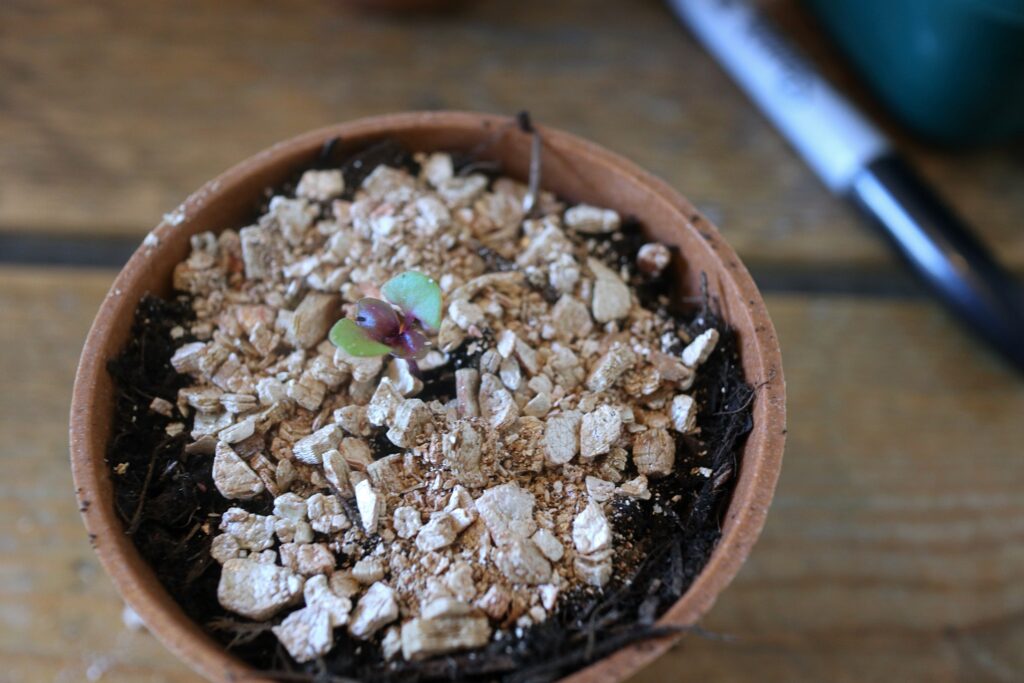
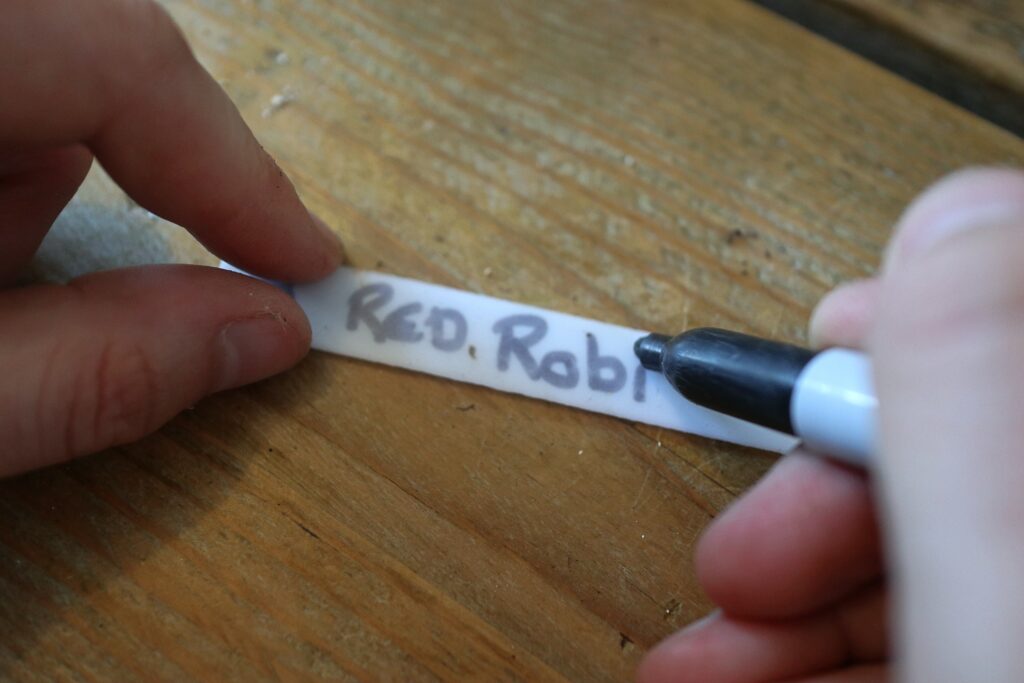
Step 4 – To finish off, gently firm the compost filling any remaining space, add a layer of vermiculite which aids moisture retention, water, and label.
Depending on what you are growing this process may need to be repeated when they are larger, but the steps remain the same only with alterations to the size of the hole.
Top Tip:
When picking up a seedling, only ever hold it by its leaves and never by the stem. New leaves will grow if any are damaged, but a damaged stem is irreparable. When you are holding the seedling and moving it to its container, take a good look at the root system and see how incredible it is!
-
 40L Kelpie CompostPrice range: £4.75 through £6.05 inc VAT
 -
 40L Green GoodnessPrice range: £3.50 through £4.80 inc VAT