Guest post by Kevin Jameson
Hi. I’m Kevin Jameson, an allotment gardener for nearly 30 years together with my lovely wife Angela. I’ve been interested in gardening all my life thanks to my Mum. She’s 90 and is still as keen as ever. Once you have the bug it seldom leaves you.
We try to garden in a sustainable way using organic methods. Mostly with very good results and a steady supply of produce but as any seasoned gardener will say, you never stop learning. That’s part of the joy of it. I’m very pleased to have an opportunity to contribute to the blog and share some of our gardening experiences with you.
Using the No-Dig Method in Autumn
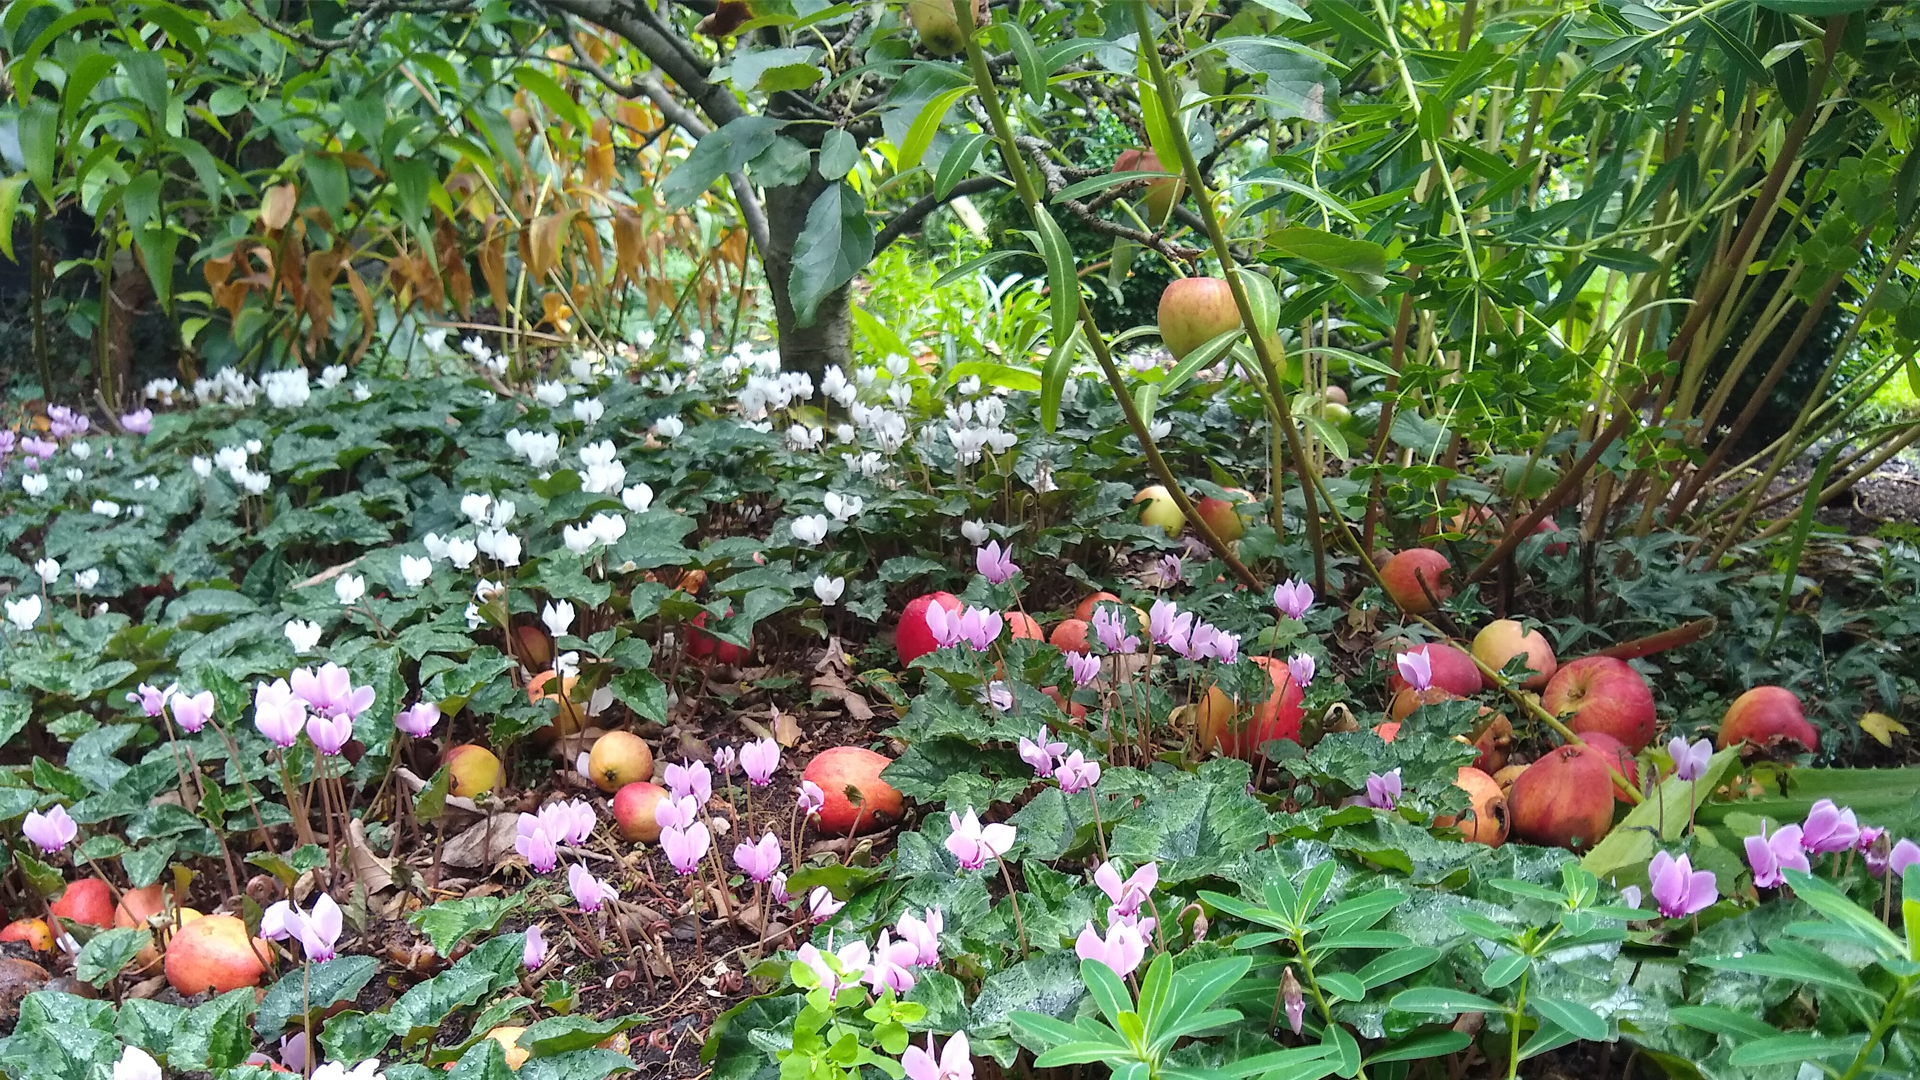
I don’t do much digging over of the ground in the garden or allotment these days. The spade is still useful for some things like shovelling compost but mostly it stays in the shed. It’s not because of advancing years or an aching back. No, it’s because I’ve slowly learned that digging over vegetable beds year upon year is not only unnecessary but is also damaging to the soil you are trying to improve and worse still, it disturbs and injures a lot of harmless and very important co-workers in the process. Earthworms I mean. Vital to a healthy soil. Digging, I’ve learned, can do as much harm as good and it takes time for the soil to recover to its natural state.
The no-dig approach to cultivation is steadily gaining recognition among gardeners and commercial agriculture world-wide and yes, we Jamesons are definitely converts.
The basic principle of no-dig is to disturb the soil as little as possible and encourage natural processes to provide a healthy and fertile growing medium for your plants. This is done by adding repeat layers of organic material on the surface which are then steadily absorbed by worms, fungi and other soil micro-organisms.
Of course a little digging is still necessary but our spade has been replaced by a trowel and hand fork so soil disturbance is much reduced. Just enough excavating on the surface to introduce new plants is mostly all that’s needed.
A regular supply of organic mulching material is very important and needs to be topped up at least once a year. We use all kinds of mulching materials.
• Home-made sieved compost
• Composted woodchips and bark
• Seaweed gathered from the seashore
• Composted horse and cow manure
• Grass clippings
• Recycled, composted green waste such as Green Goodness or Kelpie Compost
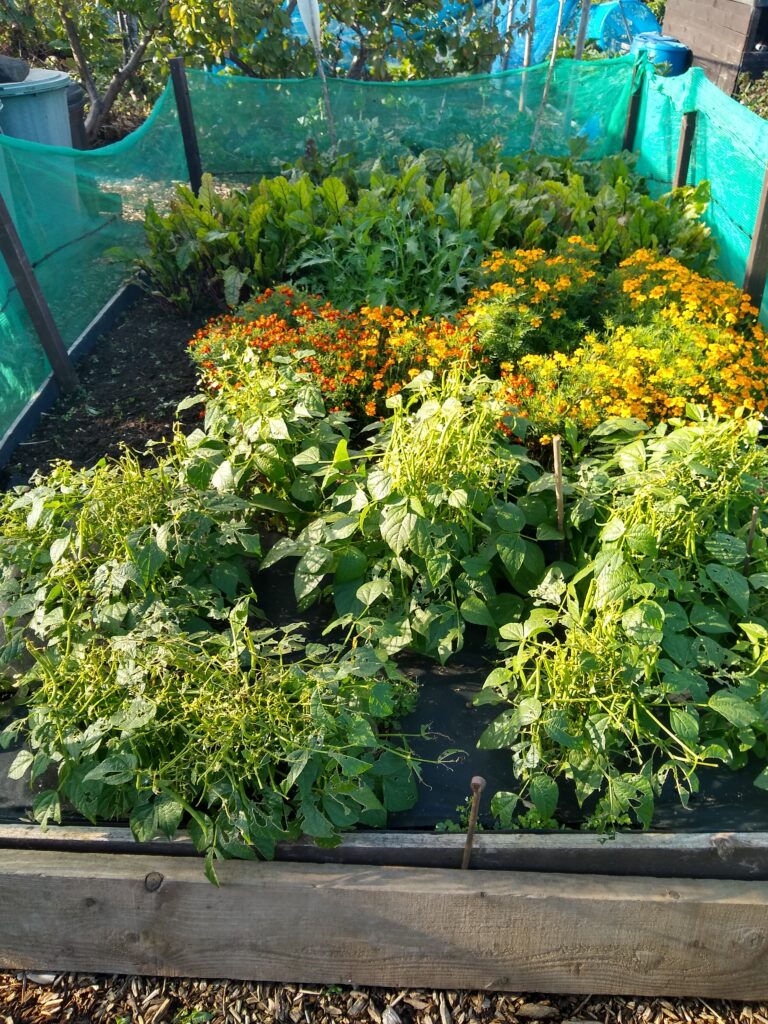
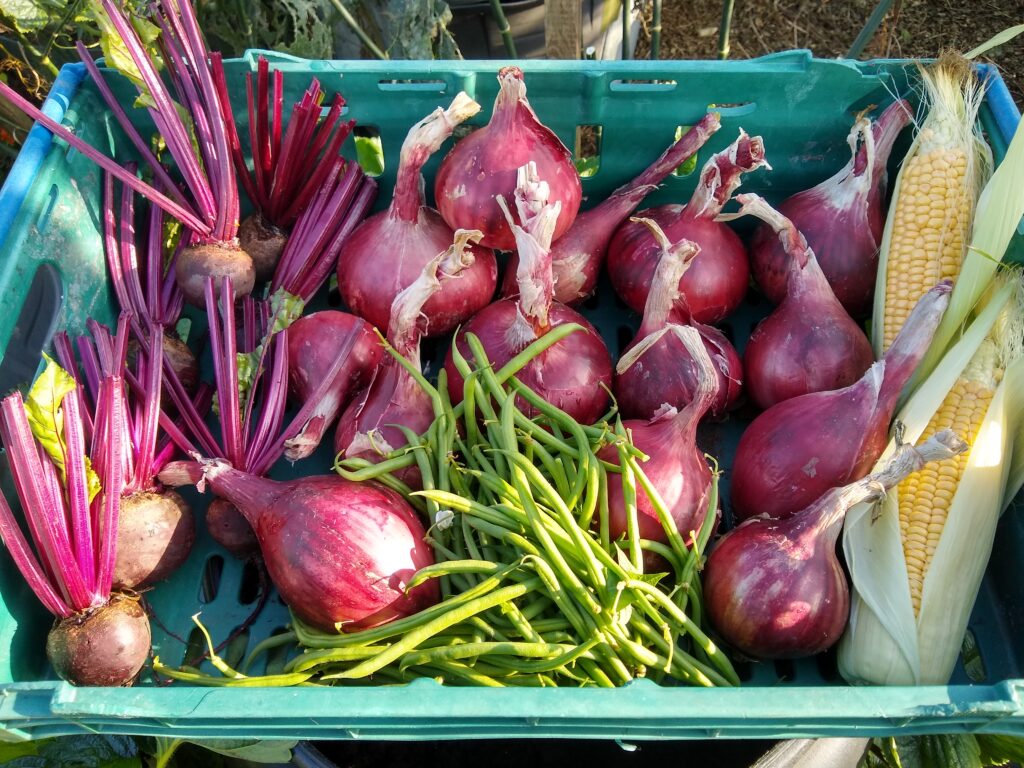
We find the results to be generally excellent with vegetables and fruit. In fact, some crops such as onions, sweet corn and broccoli have done far better. Others do just as well as before when we dug over the ground. The only exception are potatoes which we find are tricky with no-dig if you require a good pest-free yield. Using containers is a possible alternative.
If you would like to give no-dig a try there are other benefits to this approach such as:
• Reduced need for watering in dry spells
• Less need for added fertilisers. We use home-made liquid feeds
Weeding is also easier, particularly if you use mulches that are weed seed free. However, before starting, it is very important to make sure that the ground is free of perennial weeds such as couch grass, nettle, creeping buttercup and ground elder.
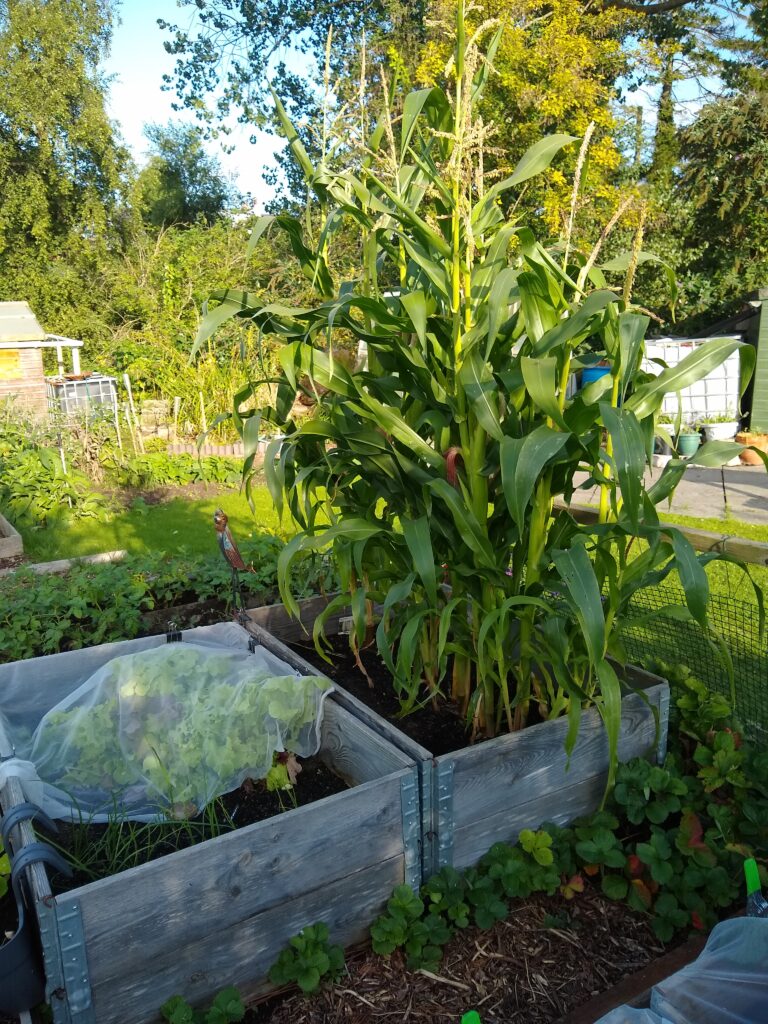
Raise Your Game and Go for High Growth
The no-dig approach to cultivation works perfectly when using raised beds. Typically, raised beds are rectangular timber structures containing soil and compost where the surface is much higher than the surrounding ground level.
Raised beds, like ours are often home-made DIY creations using scrap materials such as old scaffolding boards. There are also kits available to purchase. Caledonian Horticulture can supply very solid timber frames of different dimensions that are easy to assemble.
The advantages of raised beds are considerable, especially if you have limited growing space or your garden ground is badly drained or full of rubble, gravel etc. Working the beds is much easier than on flat ground. You are closer to the plants after all with less bending over. Plants can also be grown at much higher densities so you get much more in much less space. Not forgetting…No muddy feet.
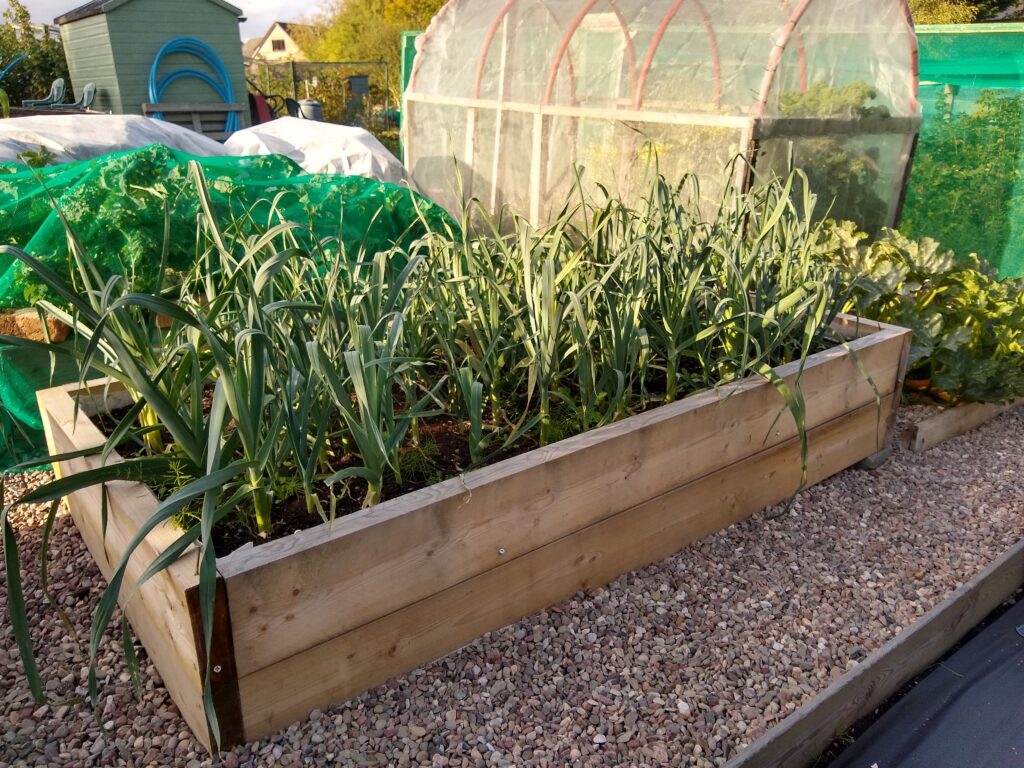
Our raised vegetable beds on the allotment are 14 years old and have done us proud. They sit on top of heavy clay soil that is often waterlogged but the beds themselves are not affected by the poor drainage.
Some tips for setting up and using raised beds:
• The higher the better for ease of access and room for roots
• For vegetables, a sunny spot is important
• Make sure the ground is free of perennial weeds (see above)
• Adding posts and scaffolding net gives extra protection
• Always fix strong plastic sheeting on the inside of timber-framed beds. Otherwise the wood will soon start to rot
• Don’t stand or kneel on large raised beds. This will compact the contents. Use a wide board to spread your weight
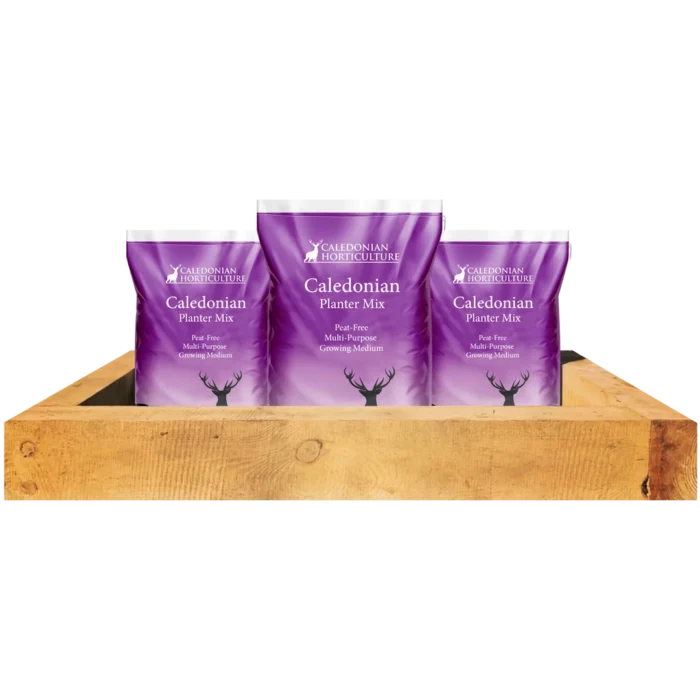
• Use a mix of good quality Topsoil and compost such as Green Goodness to fill the bed
• As the contents settle naturally, top up the surface with compost such as Caledonian Kelpie
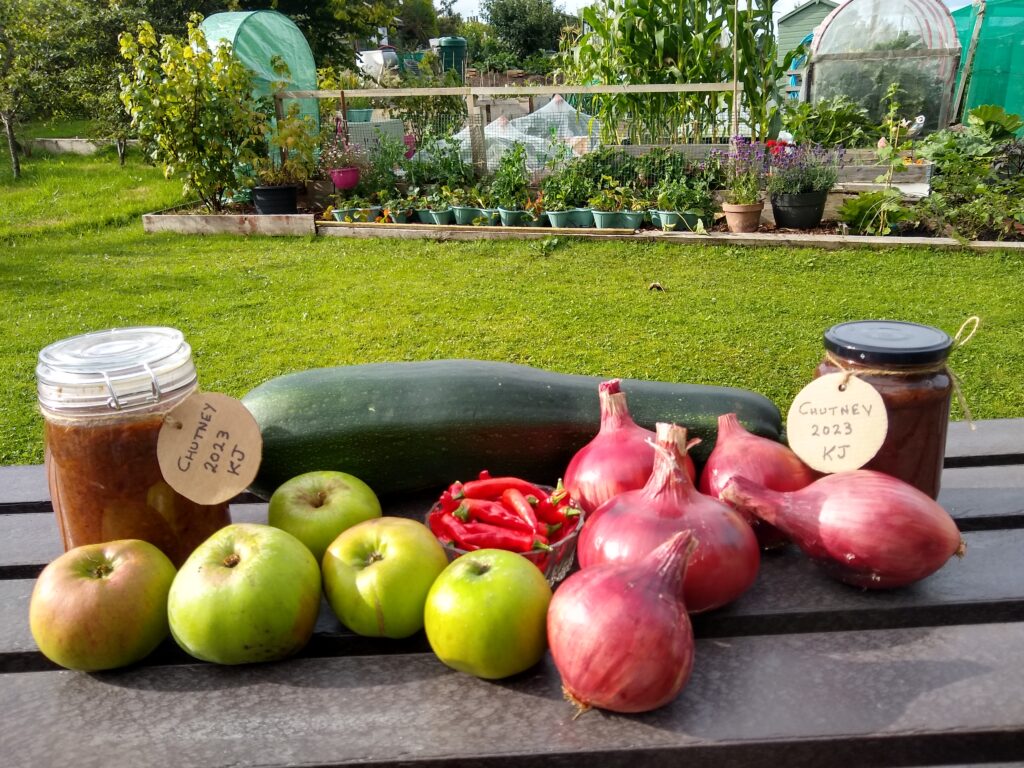
Don’t Let That Marrow Escape!
We go through a lot of home-made chutney. A good amount is also exchanged with family and friends. I notice too that chutneys vary a lot in flavour and texture, reflecting the variations in ingredients and preparation methods.
Most chutneys keep very well and also improve after a few weeks of maturing in the jar.
Chutney making is very straightforward if you haven’t tried it already. There is plenty of flexibility around what ingredients can be used and the level of sweetness or spiciness to achieve. In short, you can easily design your own.
At this time of year there are surpluses of the base ingredients that are reliable for bulking up the chutney pan. These are onions, apples, marrows and tomatoes (both ripe and unripe).
Some of the other ingredients we have used for chutneys include gooseberries, plums, beetroot, raisins and dates. Plus garlic, ginger and spices such as peppercorns, fenugreek, cumin and coriander.
After a considerable amount of chopping, add to a large pot with sugar and vinegar and off you go!
-
 Garden Raised Bed Sleeper KitPrice range: £122.00 through £194.00 inc VAT
 -
 40L Kelpie CompostPrice range: £4.75 through £6.05 inc VAT
 -
 40L Green GoodnessPrice range: £3.50 through £4.80 inc VAT