Guest post by Kevin Jameson
Hi. I’m Kevin Jameson, an allotment gardener for nearly 30 years together with my lovely wife Angela. I’ve been interested in gardening all my life thanks to my Mum. She’s 90 and is still as keen as ever. Once you have the bug it seldom leaves you.
We try to garden in a sustainable way using organic methods. Mostly with very good results and a steady supply of produce but as any seasoned gardener will say, you never stop learning. That’s part of the joy of it. I’m very pleased to have an opportunity to contribute to the blog and share some of our gardening experiences with you.
Planting Herbs in Containers
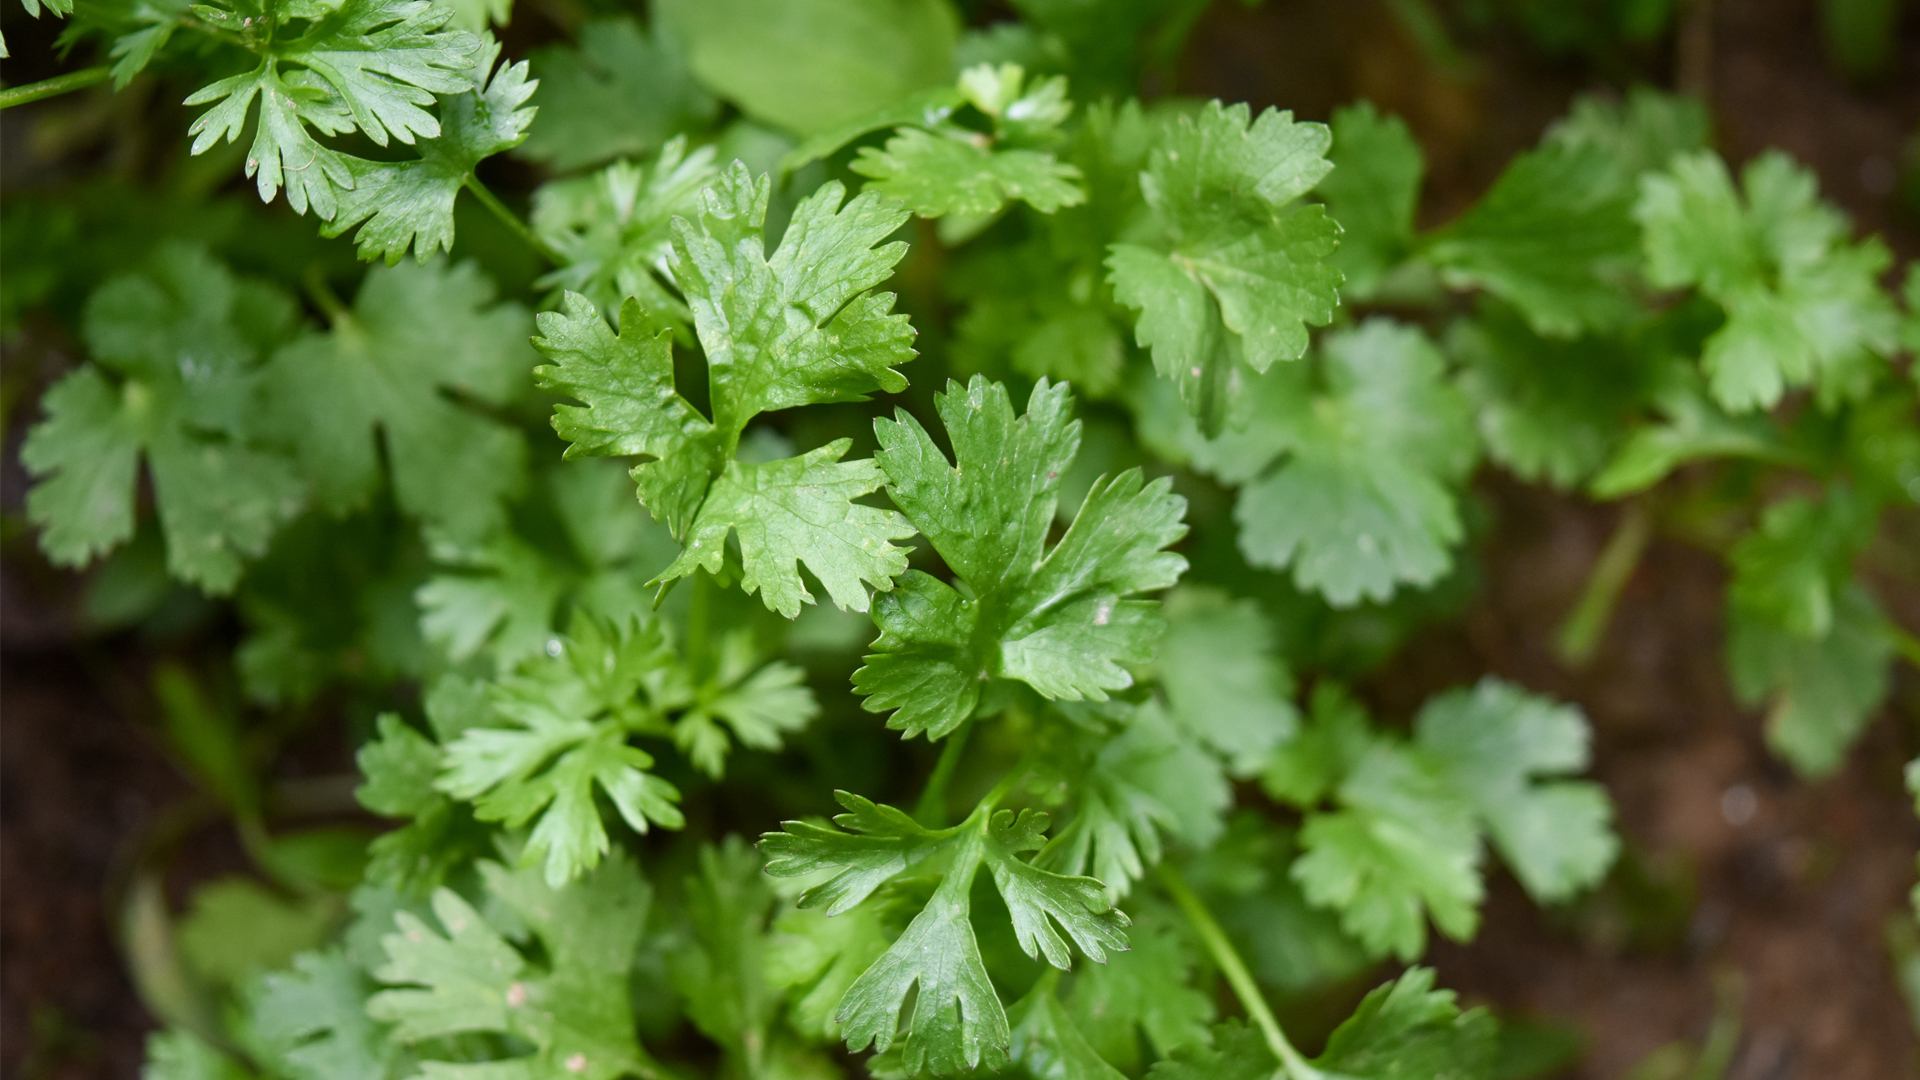
The aroma and flavour of freshly cut herbs can add a new dimension to so many dishes we love. Dried herbs bought in packets and jars are usually a poor substitute and often almost tasteless.
The good news is that most of the popular culinary herbs (for eating) are very easy to grow and only really have two basic needs
– Sunshine
– Compost that is free-draining (doesn’t get too soggy)
Most of the culinary herbs are also suitable for growing outdoors in pots and containers choosing a sunny spot. Even better if not far from the kitchen.
For beginner gardeners and people with not much outdoor space or the time to grow from seed, I suggest trying to grow your favourite herbs in containers using my repotting method. This would be a good summer holiday project if there are youngsters in the household ready to learn about different plants and their smells and tastes.
Step 1. Select your herbs.
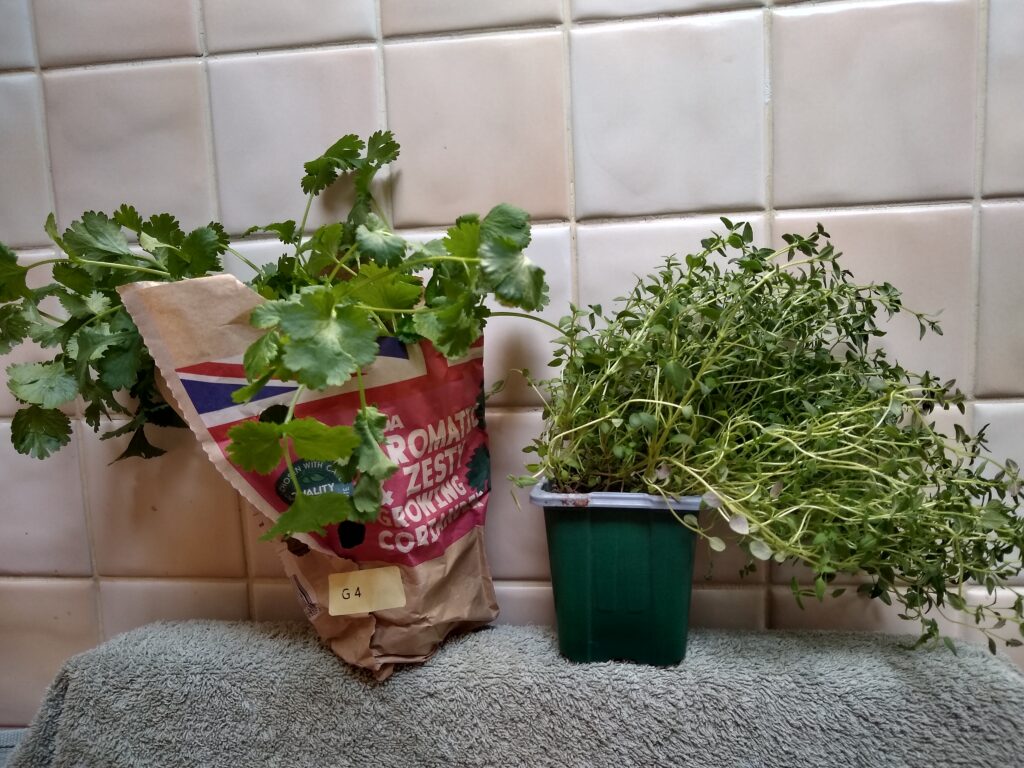
You can find a good range of growing herbs in most larger supermarkets’ fruit and veg section. These are sold as short life or disposable products usually for around £1 each. By simply repotting you can extend their lifespan considerably and greatly improve their natural flavour.
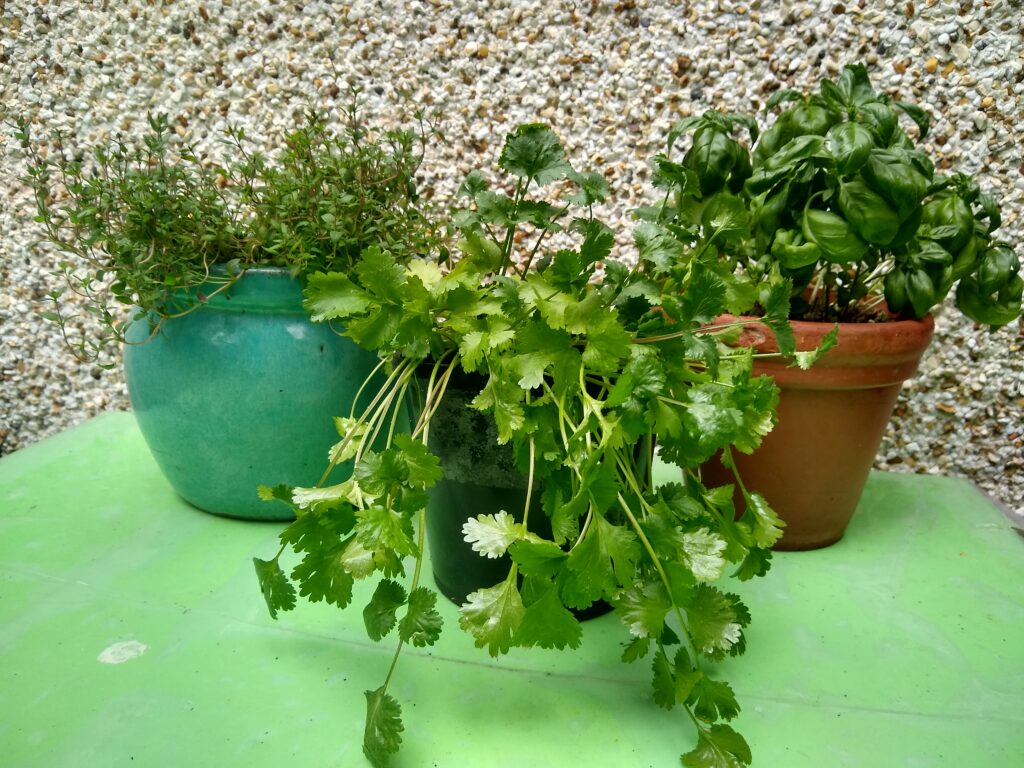
Pictured are coriander and thyme just purchased from a well known supermarket. Other herbs regularly available are mint, chives, parsley, rosemary, basil, and dill. Always check that the plants are fresh and not dried out at all.
Step 2. Choose your containers
I recommend using an inner and outer container both with drainage holes. See the diagram.
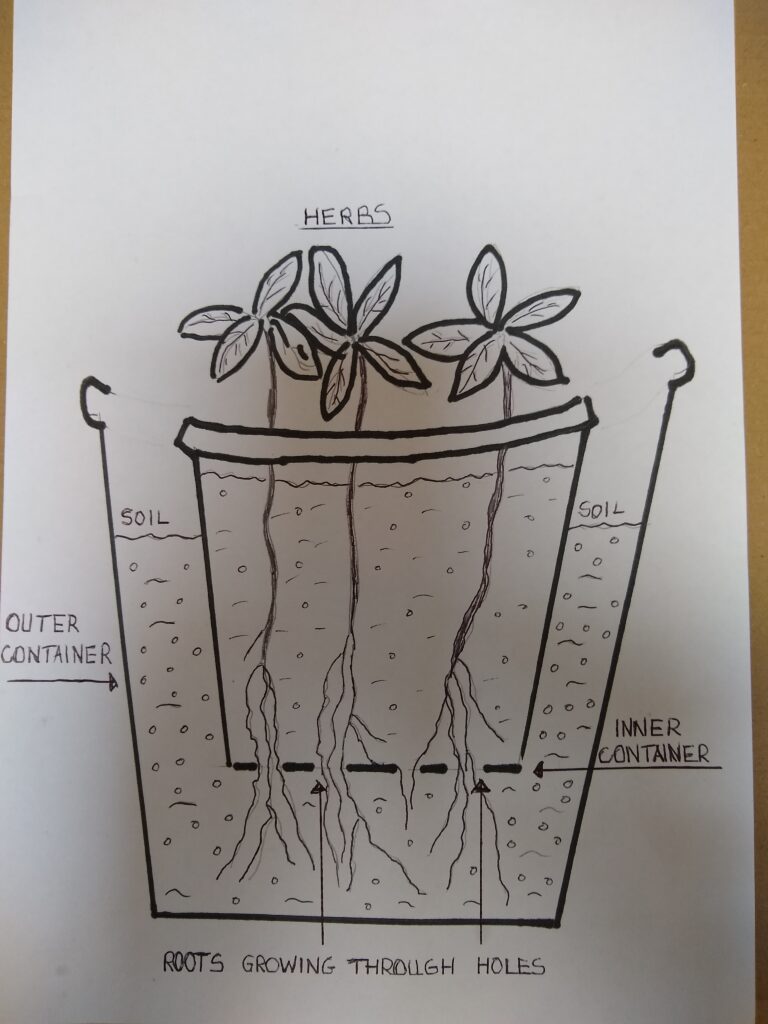
The inner container should be about 50% larger by volume than the one the herbs were in at first. If the plant roots need more room they will travel through the drainage holes into the outer container. This method helps to prevent the roots overcrowding and the compost drying out rapidly.
(If you prefer just to use one container, you’ll still get results)
Step 3. Mix up the compost
The compost should ideally contain at least 50% soil.
If using Caledonian Horticulture products, I suggest 50% Topsoil and 40% Kelpie Compost, adding 10% sharp sand or perlite.
Alternatively, mix 50/50 any multipurpose compost and soil.
Step 4. Re-pot
Take the herb of its first pot and gently loosen up the tangled roots before planting in the inner container or pot.
Put about 3cm of compost at the bottom of the outer container then place the re-potted herb inside and pack compost into the gap round the sides.
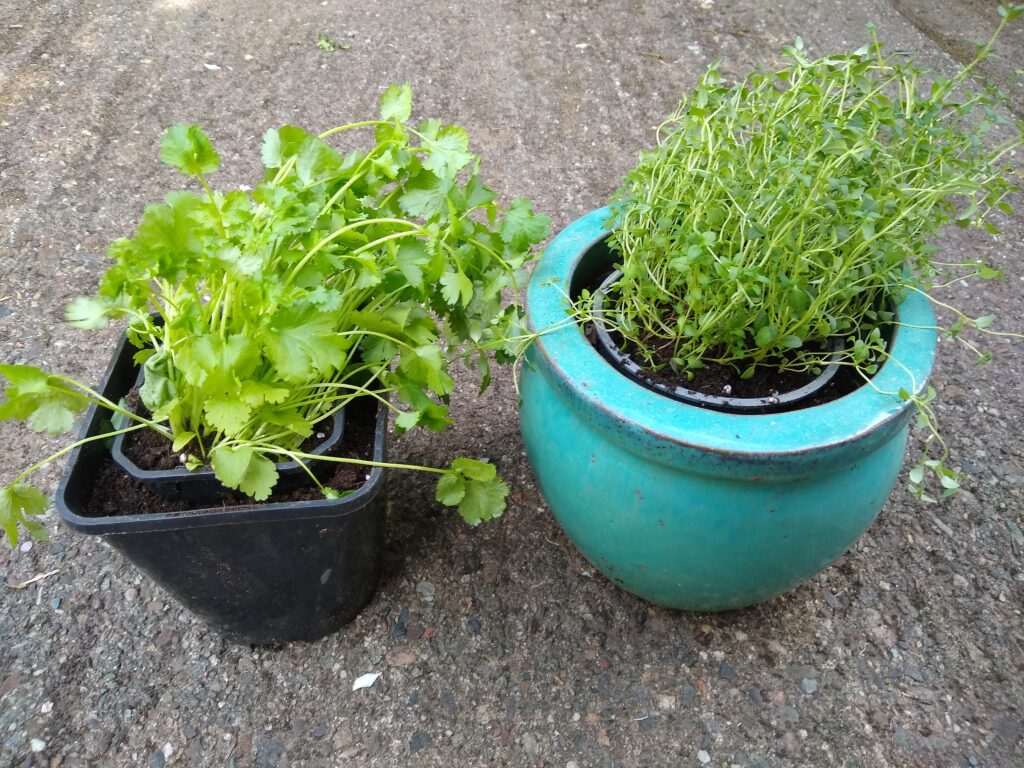
Done!
These herbs should grow well and last so much longer than as sold plus taste far better after some sunshine. Use the oder leaves at first and allow new ones to grow.
Note. We find that basil is usually happier kept indoors on a sunny window sill.
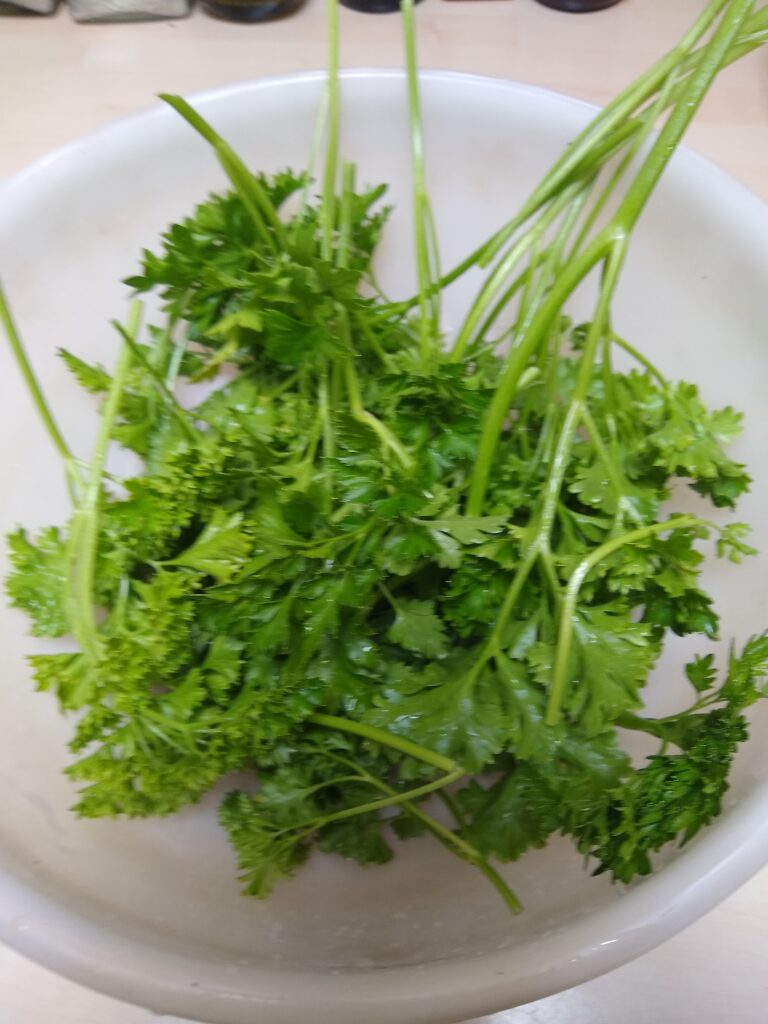
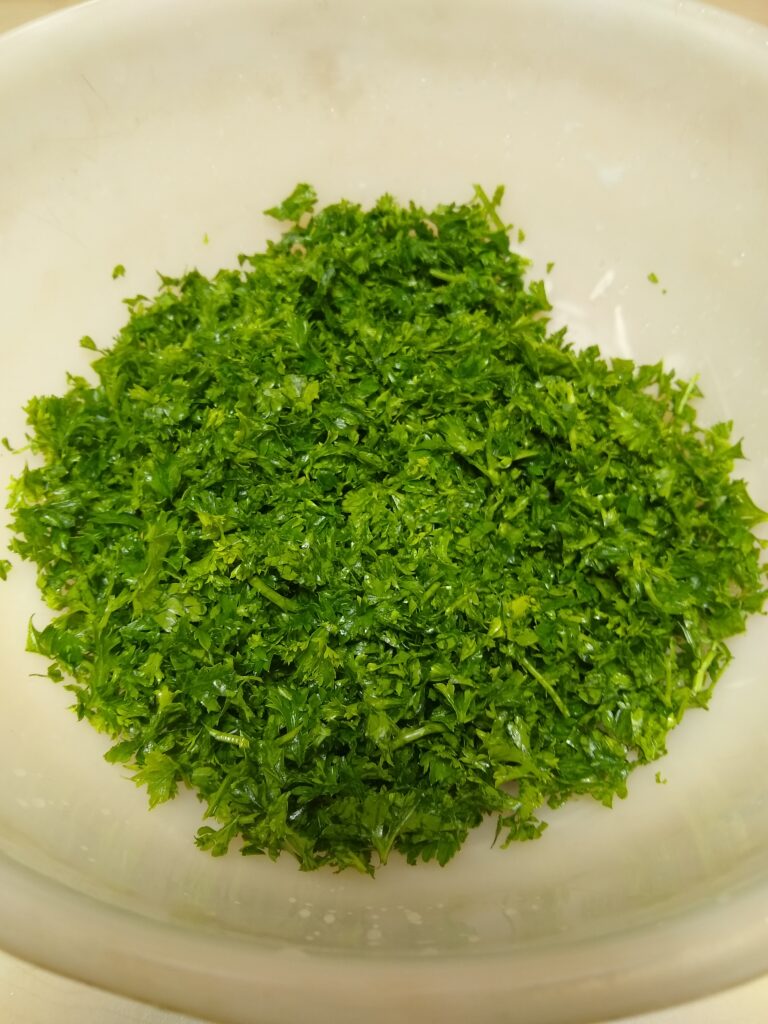
*A Special Mention For Parsley
We use a lot of parsley in cooking. So useful as a garnish for soups and boiled potatoes.
Unlike its relative coriander and also basil, parsley freezes really well and tastes almost as good as fresh.
One big crop each year is harvested, de-stalked then chopped in a food processor before freezing. We can then take a pinch or two whenever we need it.
A Quick Look at Re-purposing Wooden Pallets for Composting
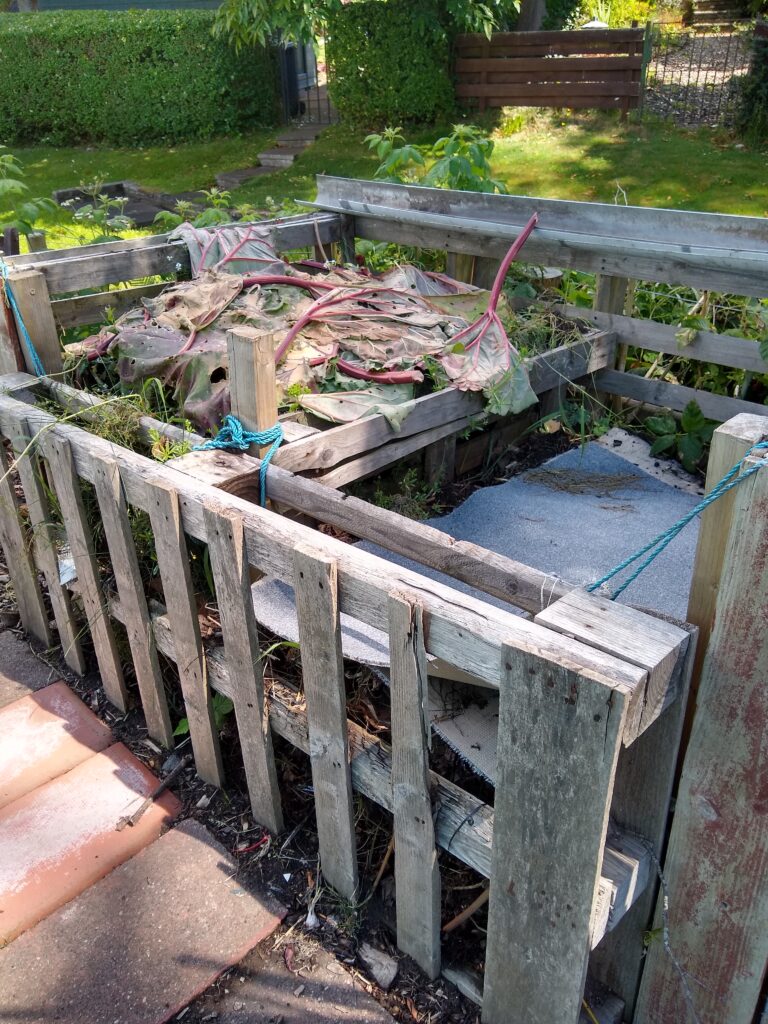
The humble pallet. So often treated as a waste product and usually easy to come by. Pallets are very popular with allotment gardeners, particularly for building simple composting enclosures. They may not have great visual appeal but can certainly do a job converting waste plant material into a very useful home-made gardening product.
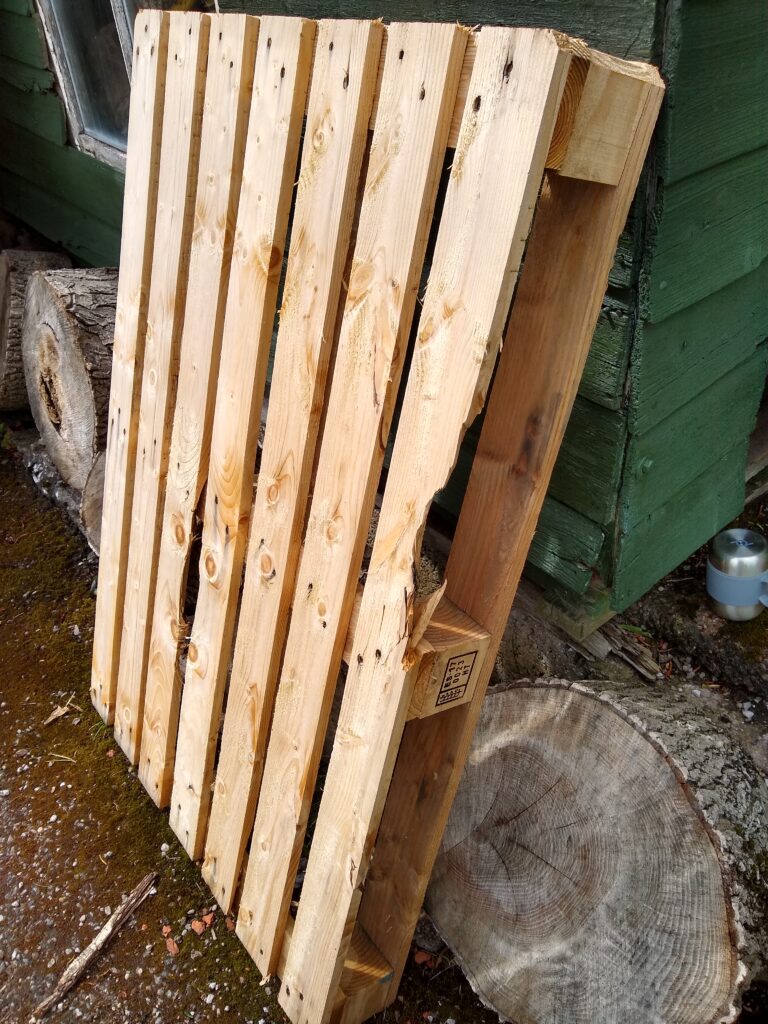
The one pictured isn’t ours but is fairly typical. If you have the space and would like to try building a pallet composter, a few tips.
– The front side should be removable to allow access;
– Line the inner sides with thick cardboard. This keeps the warmth in and helps to prevent the compost leaking through the gaps in the planks;
– Always keep the contents covered eg with some old carpet or a tarpaulin. This helps to prevent the contents becoming too dry or wet;
– Build two compartments side by side. When the first compartment is getting full, fork the contents into the second one to mix and finish off. Then start filling the first one again.
-
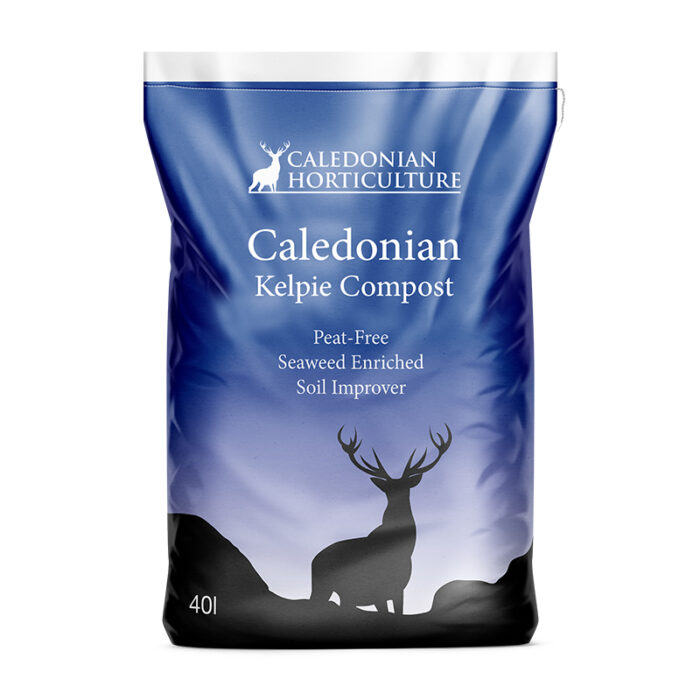 40L Kelpie CompostPrice range: £4.75 through £6.05 inc VAT
 -
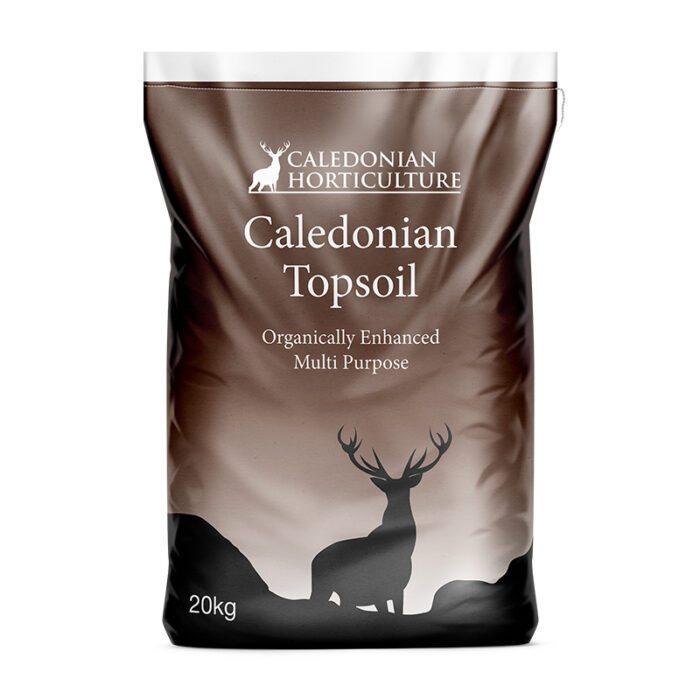 20kg Caledonian TopsoilPrice range: £3.50 through £4.80 inc VAT